DotNetBrowser in Console app
This guide shows how to start working with DotNetBrowser and embed it in a simple console application.
Before you begin make sure that your system meets software and hardware requirements.
1. Install DotNetBrowser templates
Open the Terminal or Command Line prompt, and install DotNetBrowser templates if not installed yet:
dotnet new install DotNetBrowser.Templates
For .NET 6.0, use a slightly different command:
dotnet new --install DotNetBrowser.Templates
After installation, the template projects will be available in both .NET CLI and Visual Studio.
2. Get trial license
To get a free 30-day trial license, fill in the web form and click the Get my free trial button. You will receive an email with the license key.
3. Create a .NET console application with DotNetBrowser
Create a new application:
dotnet new dotnetbrowser.console.app -o Example.Console -li <your_license_key>
dotnet new dotnetbrowser.console.app -o Example.Console -lang VisualBasic -li <license_key>
The project will be created in the folder Example.Console.
By default, this project will target net8.0. Use -f option to specify net10.0 or net9.0 instead.
The DotNetBrowser agent skill tells AI coding agents how to write code with
DotNetBrowser. To add it to the project, use the --agent option with
ClaudeCode, Codex, Cursor, or Copilot. Building the project copies the
skill to the agent’s skills directory in the project folder. For other ways to
install the skill, see Installing the agent skill.
4. Run the application
To launch application, use:
cd Example.Console
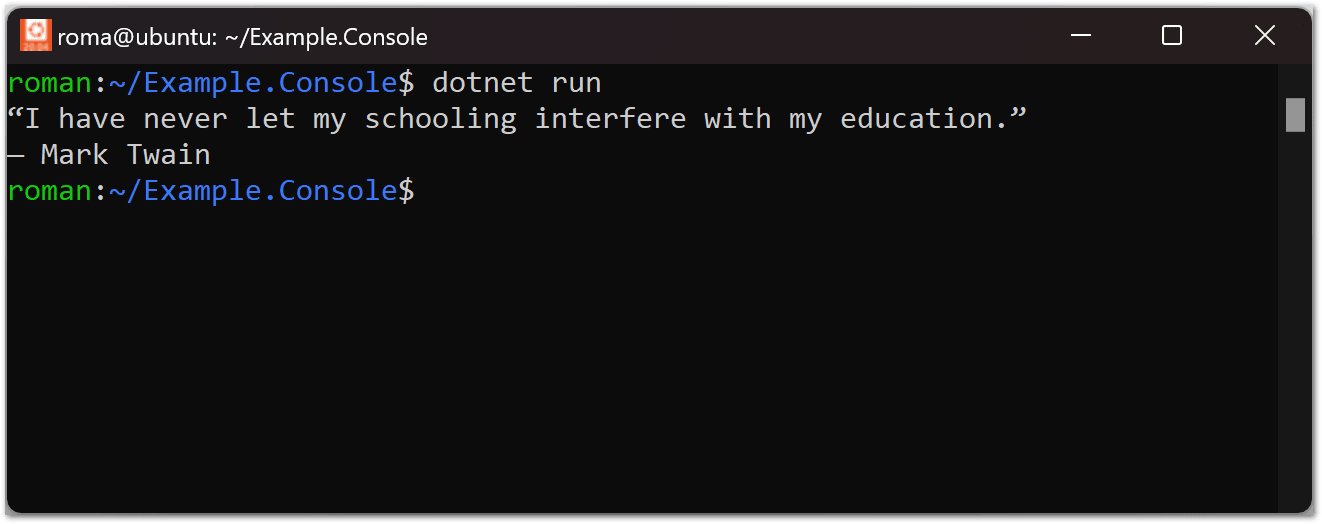
dotnet run