When writing desktop applications in Java, we want them to look and feel native. A good application blends in. It provides an experience already familiar to the user.
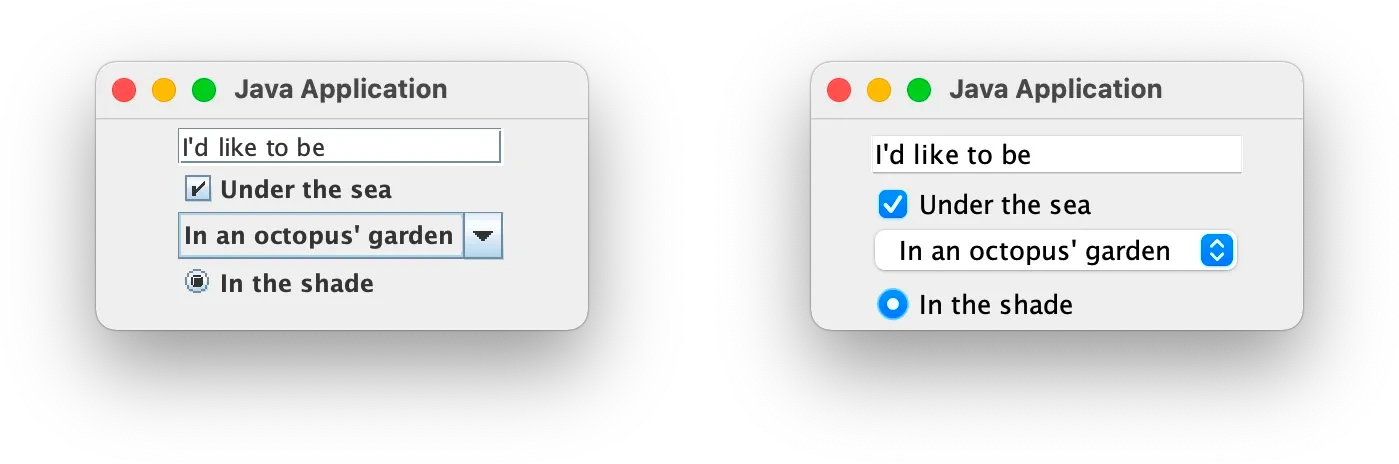
Swing GUI look and feel: Metal vs. Native
On the desktop, the user journey doesn’t start within an application itself. It starts with an installer. This is where the Java world used to fall behind. But not anymore.
Starting from Java 16, JDK comes with
jpackage. This tool packages an application into a bundle with
a built-in JRE and wraps it into a native installer and executable.
In this article, I’ll demonstrate how to use jpackage with a JxBrowser
application. I will create a simple JxBrowser application, wrap it
into a native installer and executable program. I’ll give you code snippets
that you can copy straight into your project.
Configuring Gradle
My goal here is to create a simple Pomodoro tracker, install it, and launch it as a native OS application. It will use Gradle for the build configuration and Swing for the user interface.
Let’s start from scratch by creating an empty Gradle project:
# Create the project.
$ gradle init --dsl kotlin --type basic --project-name jpackage-installer

# And update Gradle wrapper to the latest available version.
$ ./gradlew wrapper --gradle-version 9.0.0
Open build.gradle.kts and apply the Java plug-in:
plugins {
    java
}

group = "com.teamdev.examples"
version = "1.0"

java {
    sourceCompatibility = JavaVersion.VERSION_21
    targetCompatibility = JavaVersion.VERSION_21
}

repositories {
    mavenCentral()
}
Our application requires two JxBrowser dependencies. One contains the core API with Chromium binaries. And another one implements the Swing toolkit support.
Let’s use the JxBrowser Gradle Plug-in to add the necessary dependencies.
plugins {
    ...
    id("com.teamdev.jxbrowser") version "2.0.0"
}

jxbrowser {
    version = "9.0.1"
}

dependencies {
    implementation(jxbrowser.swing)
    implementation(jxbrowser.currentPlatform)
}
In the code snippet above, I use jxbrowser.currentPlatform that detects the
current platform and cherry-picks only necessary Chromium binaries. If you’re
building, let’s say, a Windows-only application, you can specify the
Chromium binaries for Windows explicitly:
dependencies {
    implementation(jxbrowser.swing)
    implementation(jxbrowser.win64)
}
Application code
Our application is very simple: it opens a JFrame, adds the BrowserView
component that loads and displays a web page with the Pomodoro Tracker.
package com.teamdev.examples;

import com.teamdev.jxbrowser.engine.Engine;
import com.teamdev.jxbrowser.view.swing.BrowserView;

import javax.swing.*;
import java.awt.*;
import java.awt.event.WindowAdapter;
import java.awt.event.WindowEvent;

import static com.teamdev.jxbrowser.engine.RenderingMode.HARDWARE_ACCELERATED;
import static javax.swing.SwingConstants.CENTER;
import static javax.swing.WindowConstants.DISPOSE_ON_CLOSE;

/**
 * A Pomodoro tracker.
 *
 * <p>This app displays a window with a web view component
 * shows the Pomodoro Tracker web application.
 */
public final class PomodoroTracker {

    private static final String URL =
            "https://teamdev.com/jxbrowser/docs/tutorials/jpackage/pomodoro/";

    public static void main(String[] args) {
        var splash = showSplashScreen();
        showBrowser();
        splash.dispose();
    }

    private static void showBrowser() {
        var engine = Engine.newInstance(HARDWARE_ACCELERATED);
        var browser = engine.newBrowser();
        var frame = new JFrame("Pomodoro Tracker");
        frame.addWindowListener(new WindowAdapter() {
            @Override
            public void windowClosing(WindowEvent e) {
                engine.close();
            }
        });
        var view = BrowserView.newInstance(browser);
        frame.add(view, BorderLayout.CENTER);
        frame.setDefaultCloseOperation(DISPOSE_ON_CLOSE);
        frame.setSize(1280, 900);
        frame.setLocationRelativeTo(null);
        frame.setVisible(true);
        browser.navigation().loadUrl(URL);
    }

    private static JWindow showSplashScreen() {
        var splash = new JWindow();
        splash.getContentPane().add(new JLabel("Loading...", CENTER));
        splash.setBounds(500, 150, 300, 200);
        splash.setVisible(true);
        return splash;
    }
}
Packaging the application
Desktop applications written in Java need to carry all necessary libraries they require at runtime. The usual approach is to merge libraries together with an application into a big Uber JAR. That’s easy to do.
First, let’s apply the com.gradleup.shadow Gradle plug-in:
plugins {
    ...
    id("com.gradleup.shadow") version "9.0.2"
}
Then, let’s configure the shadowJar task that builds the application’s JAR:
tasks {
    // We will use this variable in the jpackage configuration.
    val jarName = "main.jar"
    shadowJar {
        manifest {
            attributes["Main-Class"] = "com.teamdev.examples.PomodoroTracker"
        }
        archiveFileName.set(jarName)
    }
    ...
}
This task produces a JAR that we can launch from the command line:
$ ./gradlew shadowJar
$ java -jar build/libs/main.jar
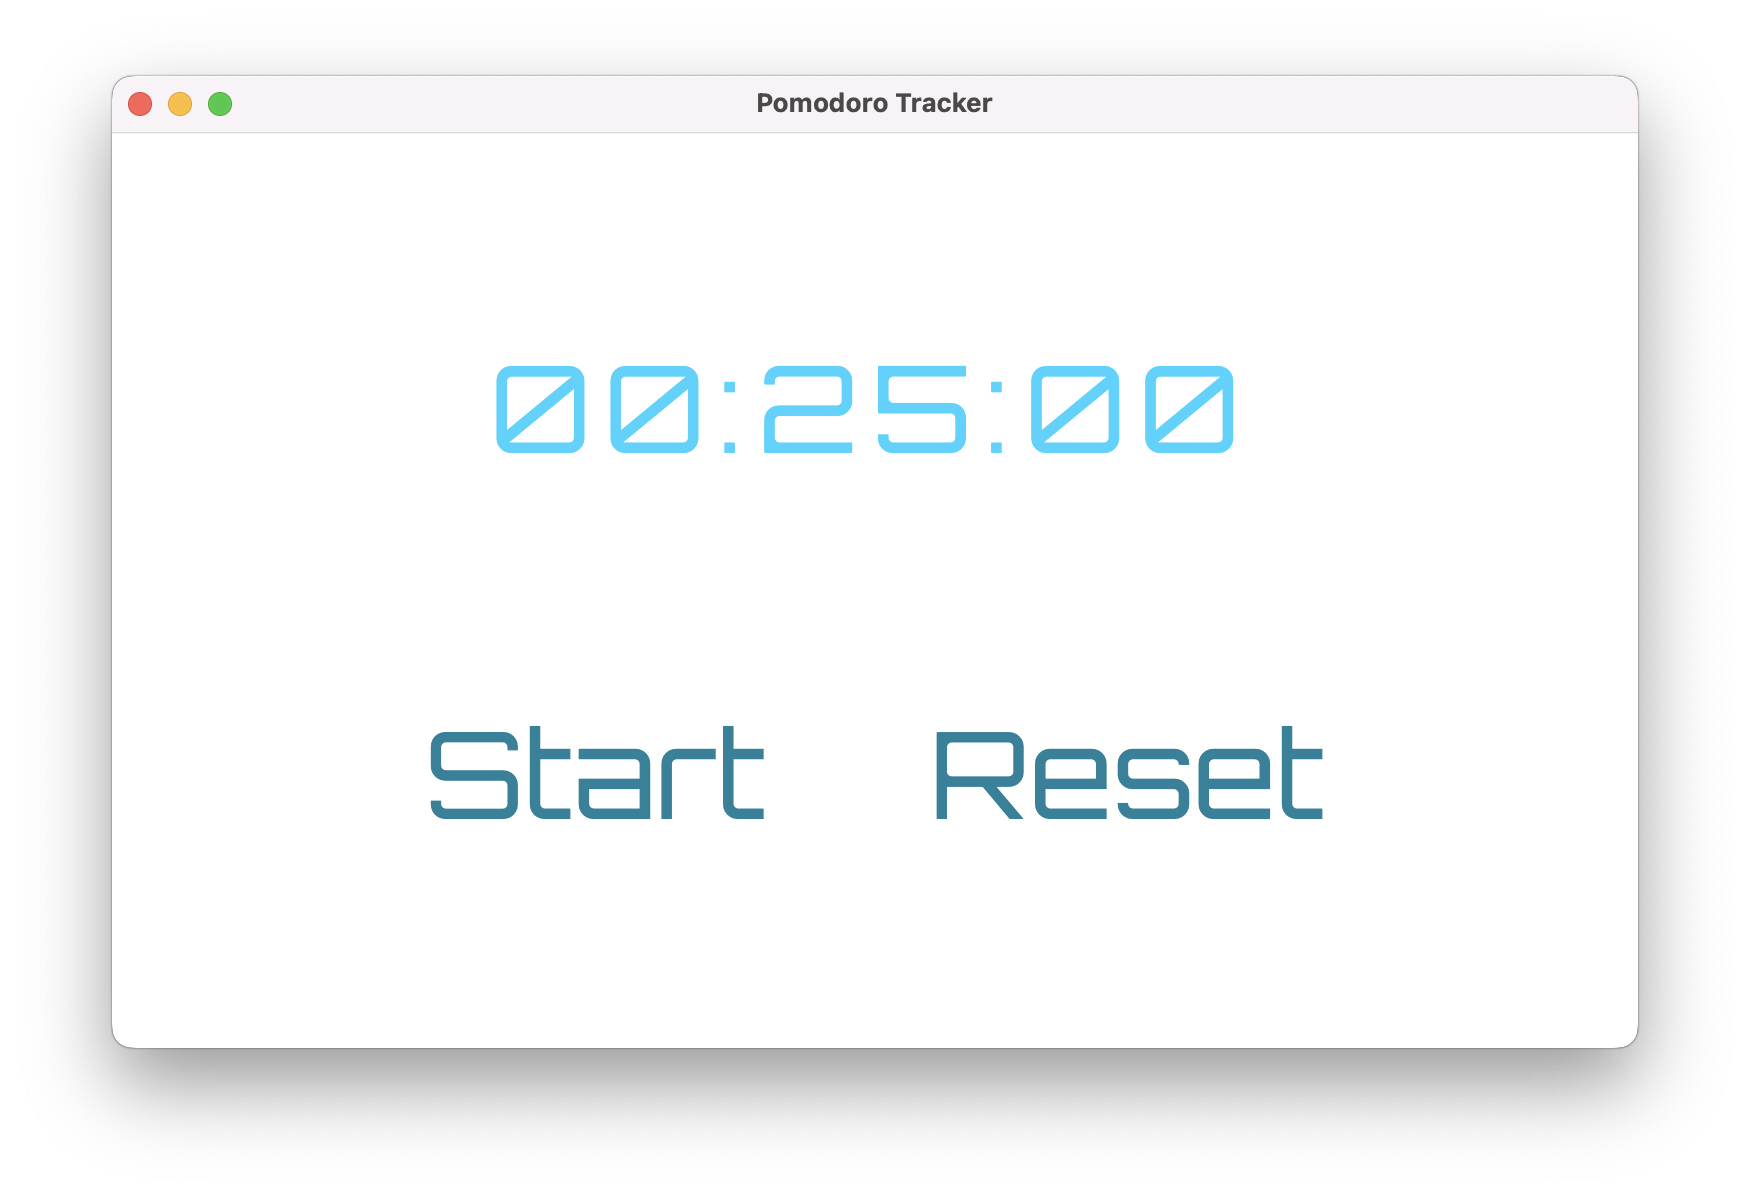
The launched example application.
Now, we have everything to configure jpackage.
This is a command-line tool. However, I prefer to keep everything in Gradle, which is easier to read and maintain than a heap of Bash scripts.
I recommend the org.panteleyev.jpackage plug-in. This plug-in wraps
the command-line API of jpackage into Gradle DSL. Here’s how to apply it:
plugins {
    ...
    id("org.panteleyev.jpackageplugin") version "1.7.3"
}
And here’s how I configured it to generate the installers:
tasks {
    ...

    val fatJarLocation by lazy {
        shadowJar.get().destinationDirectory
    }

    jpackage {
        // Build the fat JAR before packaging.
        dependsOn(shadowJar)

        // The path to the input files.
        input = fatJarLocation
        mainJar = jarName

        // The list of necessary modules to include into a bundled JRE.
        // The "java.logging" is required by JxBrowser.
        addModules = listOf("java.base", "java.desktop", "java.logging")
        destination = project.layout.buildDirectory.dir("dist")

        appName = "Pomodoro tracker"
        appVersion = "${project.version}"

        linux {
            type = DEB
            icon = projectDir.resolve("app-logo.png")
            linuxPackageName = "pomodoro-tracker"
        }
        windows {
            type = MSI
            icon = projectDir.resolve("app-logo.ico")
            winMenu = true
            winDirChooser = true
        }
        mac {
            type = DMG
            icon = projectDir.resolve("app-logo.icns")
        }
    }
}
Once everything is configured, the only thing left to do is to call the
jpackage task. Once the task is complete, we’ll find the installers in
the build/dist directory:
$ ./gradlew jpackage
Installer in action
Pitfalls on Windows
Wix Toolset
The jpackage tool puts your application together, but it relies on third-party
software to produce the actual installer.
On Windows, it depends on the WiX Toolset, which you must install separately. And here comes a pitfall.
All Java versions below 24 depend on Wix Toolset 3. This version is at least three major releases behind and has been discontinued for some time.
Solution: use Java 24 if you want compatibility with a current WiX Toolset release.
Signature
In Java versions 21 through 24, jpackage generated a
malformed launcher file. The launcher worked, but it
couldn’t be signed:
# SignTool output:
SignTool Error: SignedCode::Sign returned error: 0x800700C1
# or simply: ERROR_BAD_EXE_FORMAT
Solution: Use Java 25 if you need to sign your application.
Pitfalls on macOS
On macOS, application bundles must always have the correct folder structure. Bundles with even slight errors may not pass the code-signing process and will almost certainly fail notarization.
For simplicity of this example app, we’ve added JxBrowser dependencies as regular JAR files from Maven. In practice, however, you would extract the Chromium engine from its JAR file and include it in the bundle as is. Why spend runtime on something you can handle at build time, right?
But when we tried exactly that, we couldn’t make it work. As we found out,
up through, jpackage incorrectly materialized symlinks
inside the additional app content
(the --app-content
Solution: use Java 25 if you need to include symlinks in directories passed
to --app-content
Source code
You can find the source code of the application in the GitHub repository.
Sending…
Sorry, the sending was interrupted
Please try again. If the issue persists, contact us at info@teamdev.com.
Your personal JxBrowser trial key and quick start guide will arrive in your Email Inbox in a few minutes.