Engine
This guide describes how to create, use, and close Engine.
Please consider reading the Architecture guide to better understand how JxBrowser architecture is designed, how it works and what main components it provides.
Creating Engine
To create a new Engine instance use the Engine.newInstance(EngineOptions) static method. This method initializes and runs the Chromium engine with the passed options.
Engine engine = Engine.newInstance(engineOptions);
val engine = Engine.newInstance(engineOptions)
Depending on the hardware performance, the initialization process might take several seconds. We recommend that you do not call this method in the application UI thread because it might freeze the whole application for a while. Please use the approach described in the example.
When you create a new Engine instance, JxBrowser performs the following actions:
- Checks the environment and makes sure that it is supported.
- Finds the Chromium binaries and extracts them to the required directory if necessary.
- Runs the main process of the Chromium engine.
- Sets up the IPC connection between Java and the Chromium main process.
Engine options
Rendering mode
This option indicates how the content of a web page will be rendered. JxBrowser supports the following rendering modes:
Hardware accelerated
In this rendering mode Chromium renders content using GPU and displays it directly on a surface. The following example demonstrates how to enable the hardware accelerated rendering mode:
Engine engine = Engine.newInstance(RenderingMode.HARDWARE_ACCELERATED);
val engine = Engine.newInstance(RenderingMode.HARDWARE_ACCELERATED)
Read more about the hardware accelerated rendering mode, its performance, and limitations.
Off-screen
In this mode Chromium renders the content using GPU and copies the pixels to RAM. The following example demonstrates how to enable the off-screen rendering mode:
Engine engine = Engine.newInstance(RenderingMode.OFF_SCREEN);
val engine = Engine.newInstance(RenderingMode.OFF_SCREEN)
Read more about the off-screen rendering mode, its performance, and limitations.
Language
This option configures the language used on the default error pages and the message dialogs. By default, the language is dynamically configured according to the default locale of your Java application. If the language obtained from the Java application locale is not supported, the US English language is used.
Current option allows you to override the default behavior and configure the Chromium engine with the given language. For example:
Engine engine = Engine.newInstance(EngineOptions.newBuilder(RenderingMode.HARDWARE_ACCELERATED)
        .language(Language.GERMAN)
        .build());
val engine = Engine.newInstance(EngineOptions.newBuilder(RenderingMode.HARDWARE_ACCELERATED)
    .language(Language.GERMAN)
    .build())
In the code above we configure the Engine with the German language. If JxBrowser fails to load a web page, the error page in German will be displayed:
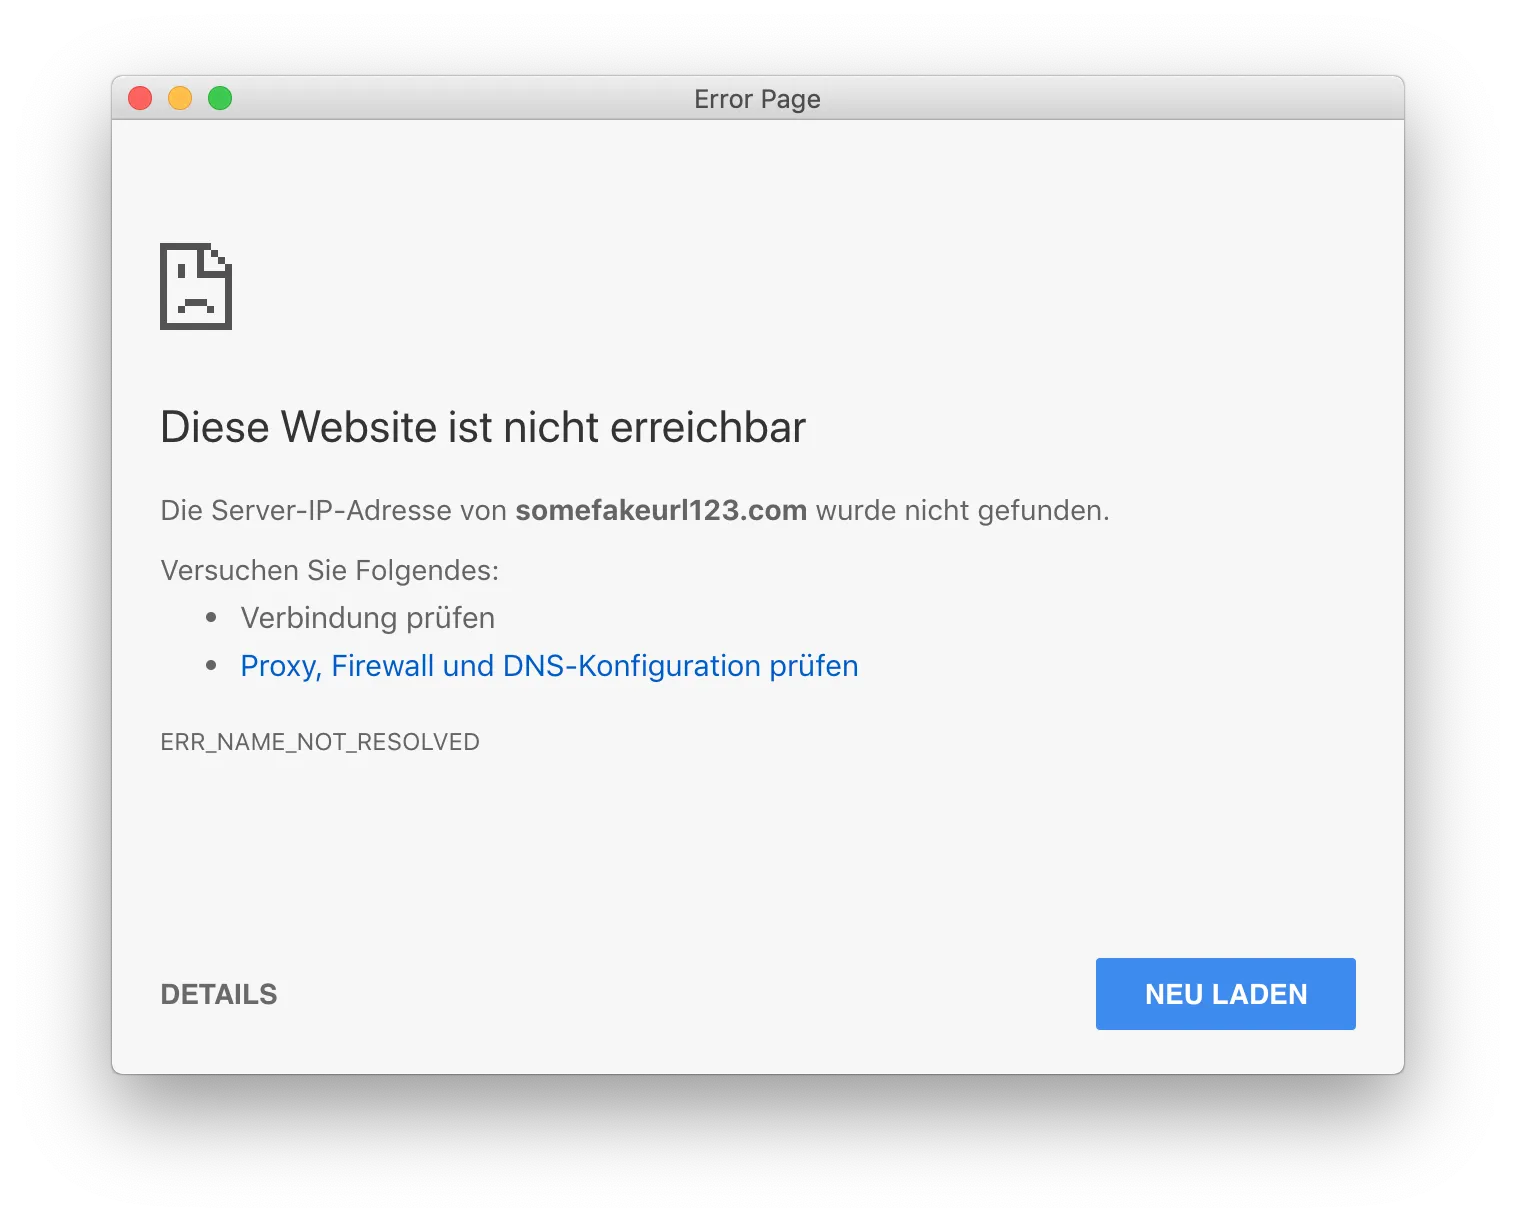
I18N internationalization
Starting with 7.1 version, the library supports I18N internationalization when browsing local file system:
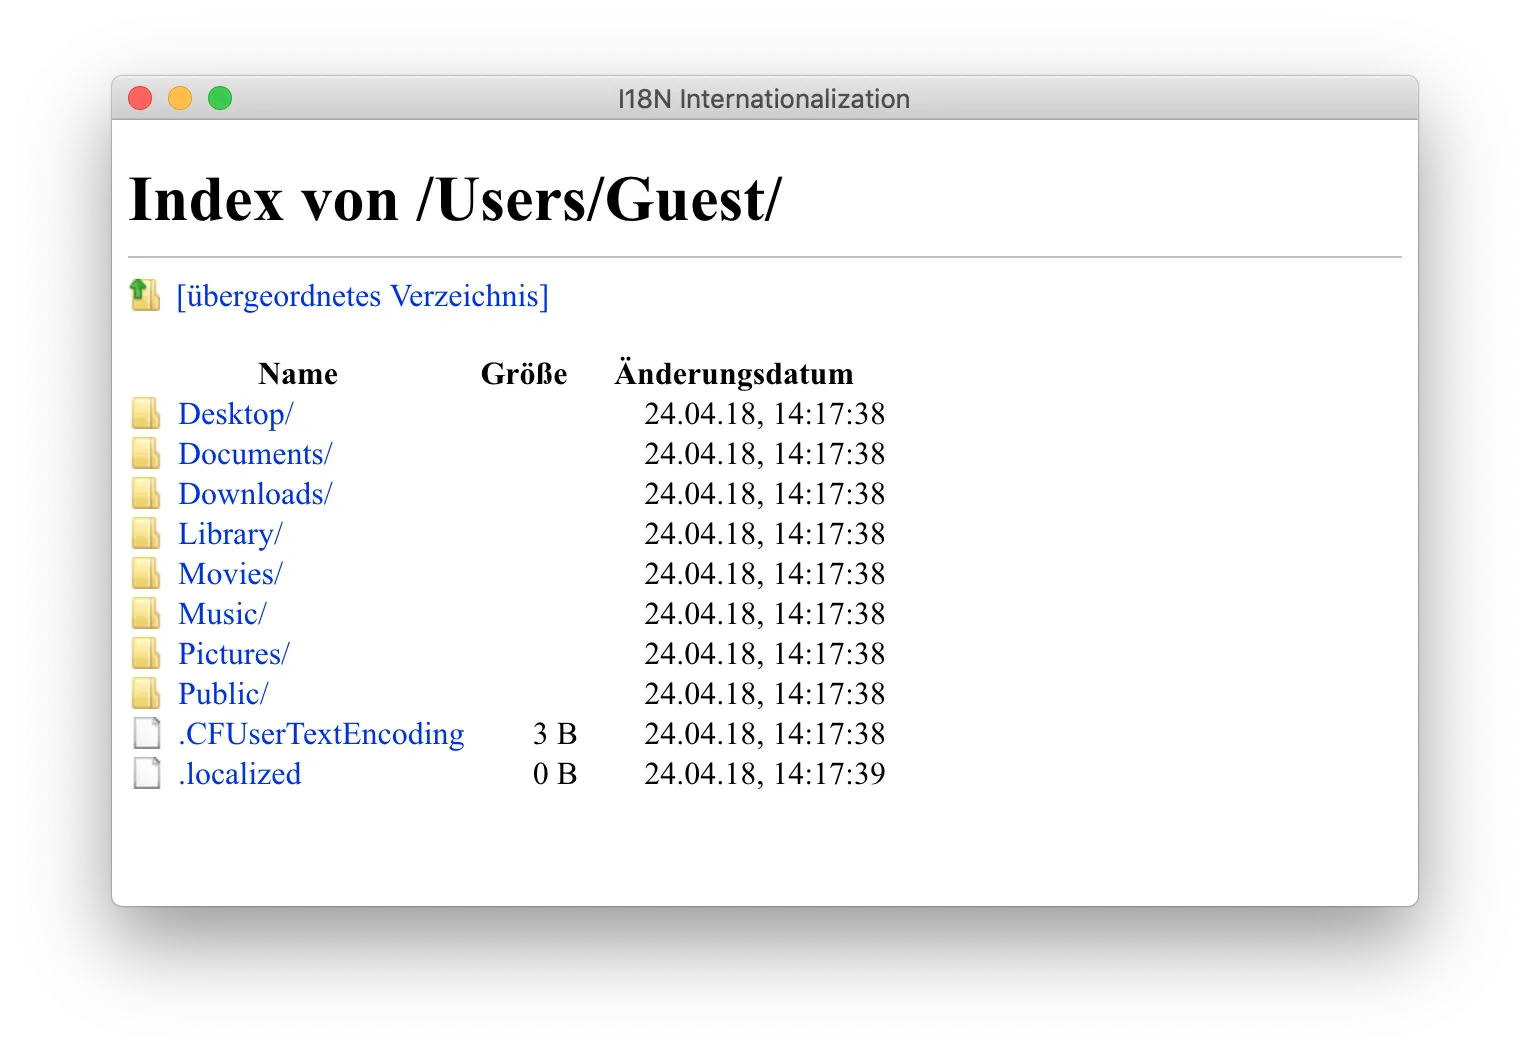
User data directory
Represents an absolute path to the directory where the profiles, and their data such as cache, cookies, history, GPU cache, local storage, visited links, web data, spell checking dictionary files, etc. are stored. For example:
Engine engine = Engine.newInstance(EngineOptions.newBuilder(RenderingMode.HARDWARE_ACCELERATED)
        .userDataDir(Paths.get("/Users/Me/.jxbrowser"))
        .build());
val engine = Engine.newInstance(EngineOptions.newBuilder(RenderingMode.HARDWARE_ACCELERATED)
    .userDataDir(Path("/Users/Me/.jxbrowser"))
    .build())
The same user data directory cannot be used at the same time by multiple Engine instances running in a single or different Java applications. The Engine creation will fail if the directory is already used by another Engine.
The directory cannot be located on a network drive.
If you do not provide the user data directory path during Engine creation, the Engine instance will create a directory in the user’s temp folder and use it. The temp directory will be automatically deleted during closing Engine.
Incognito
This option indicates whether the Incognito mode for the default profile is enabled. In this mode the user data such as browsing history, cookies, site data is stored in the memory. It will be released once you delete Profile or close the Engine.
By default, the Incognito mode is disabled.
The following example demonstrates how to enable the Incognito mode:
Engine engine = Engine.newInstance(EngineOptions.newBuilder(RenderingMode.HARDWARE_ACCELERATED)
        .enableIncognito()
        .build());
val engine = Engine.newInstance(EngineOptions.newBuilder(RenderingMode.HARDWARE_ACCELERATED)
    .enableIncognito()
    .build())
User agent
Using this option you can configure the default user agent string. For example:
Engine engine = Engine.newInstance(EngineOptions.newBuilder(RenderingMode.HARDWARE_ACCELERATED)
        .userAgent("<user-agent>")
        .build());
val engine = Engine.newInstance(EngineOptions.newBuilder(RenderingMode.HARDWARE_ACCELERATED)
    .userAgent("<user-agent>")
    .build())
You can override the default user agent string in each Browser instance.
Remote debugging port
This option sets the remote debugging port. One may need it to integrate with software like Selenium that relies on Chrome DevTools Protocol.
The following example demonstrates how to set the port number:
Engine engine = Engine.newInstance(EngineOptions.newBuilder(RenderingMode.HARDWARE_ACCELERATED)
        .addSwitch("--remote-allow-origins=http://localhost:9222")
        .remoteDebuggingPort(9222)
        .build());
val engine = Engine.newInstance(EngineOptions.newBuilder(RenderingMode.HARDWARE_ACCELERATED)
    .addSwitch("--remote-allow-origins=http://localhost:9222")
    .remoteDebuggingPort(9222)
    .build())
To inspect the web pages loaded in JxBrowser you can use the following ways.
Chrome Inspect
Open Google Chrome and load chrome://inspect to inspect the web pages.
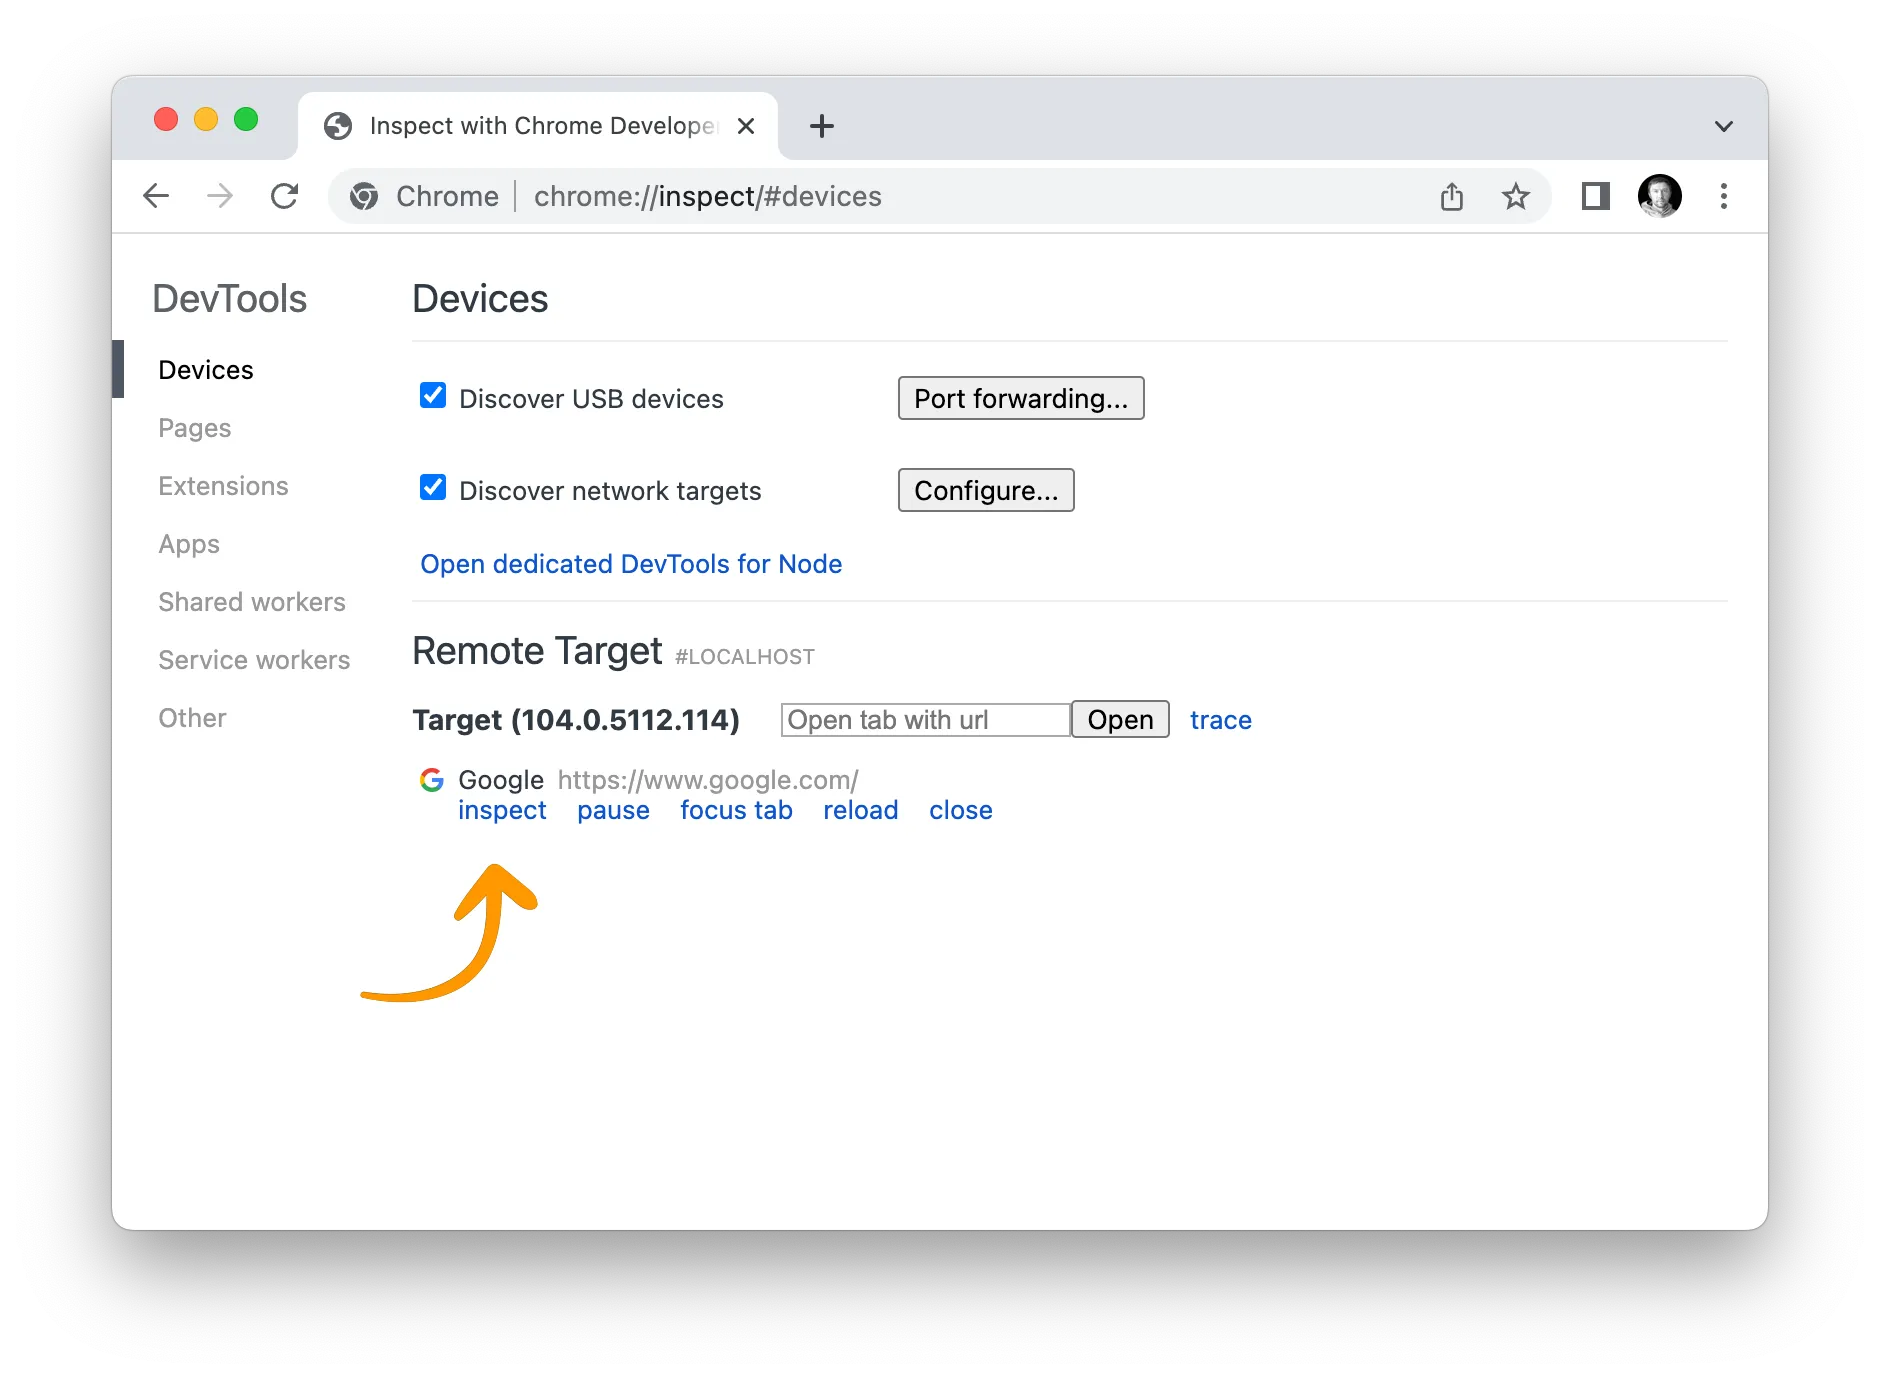
Remote Debugging URL
Get the remote debugging URL of a Browser instance where the required web page is loaded and load it in another Browser instance.
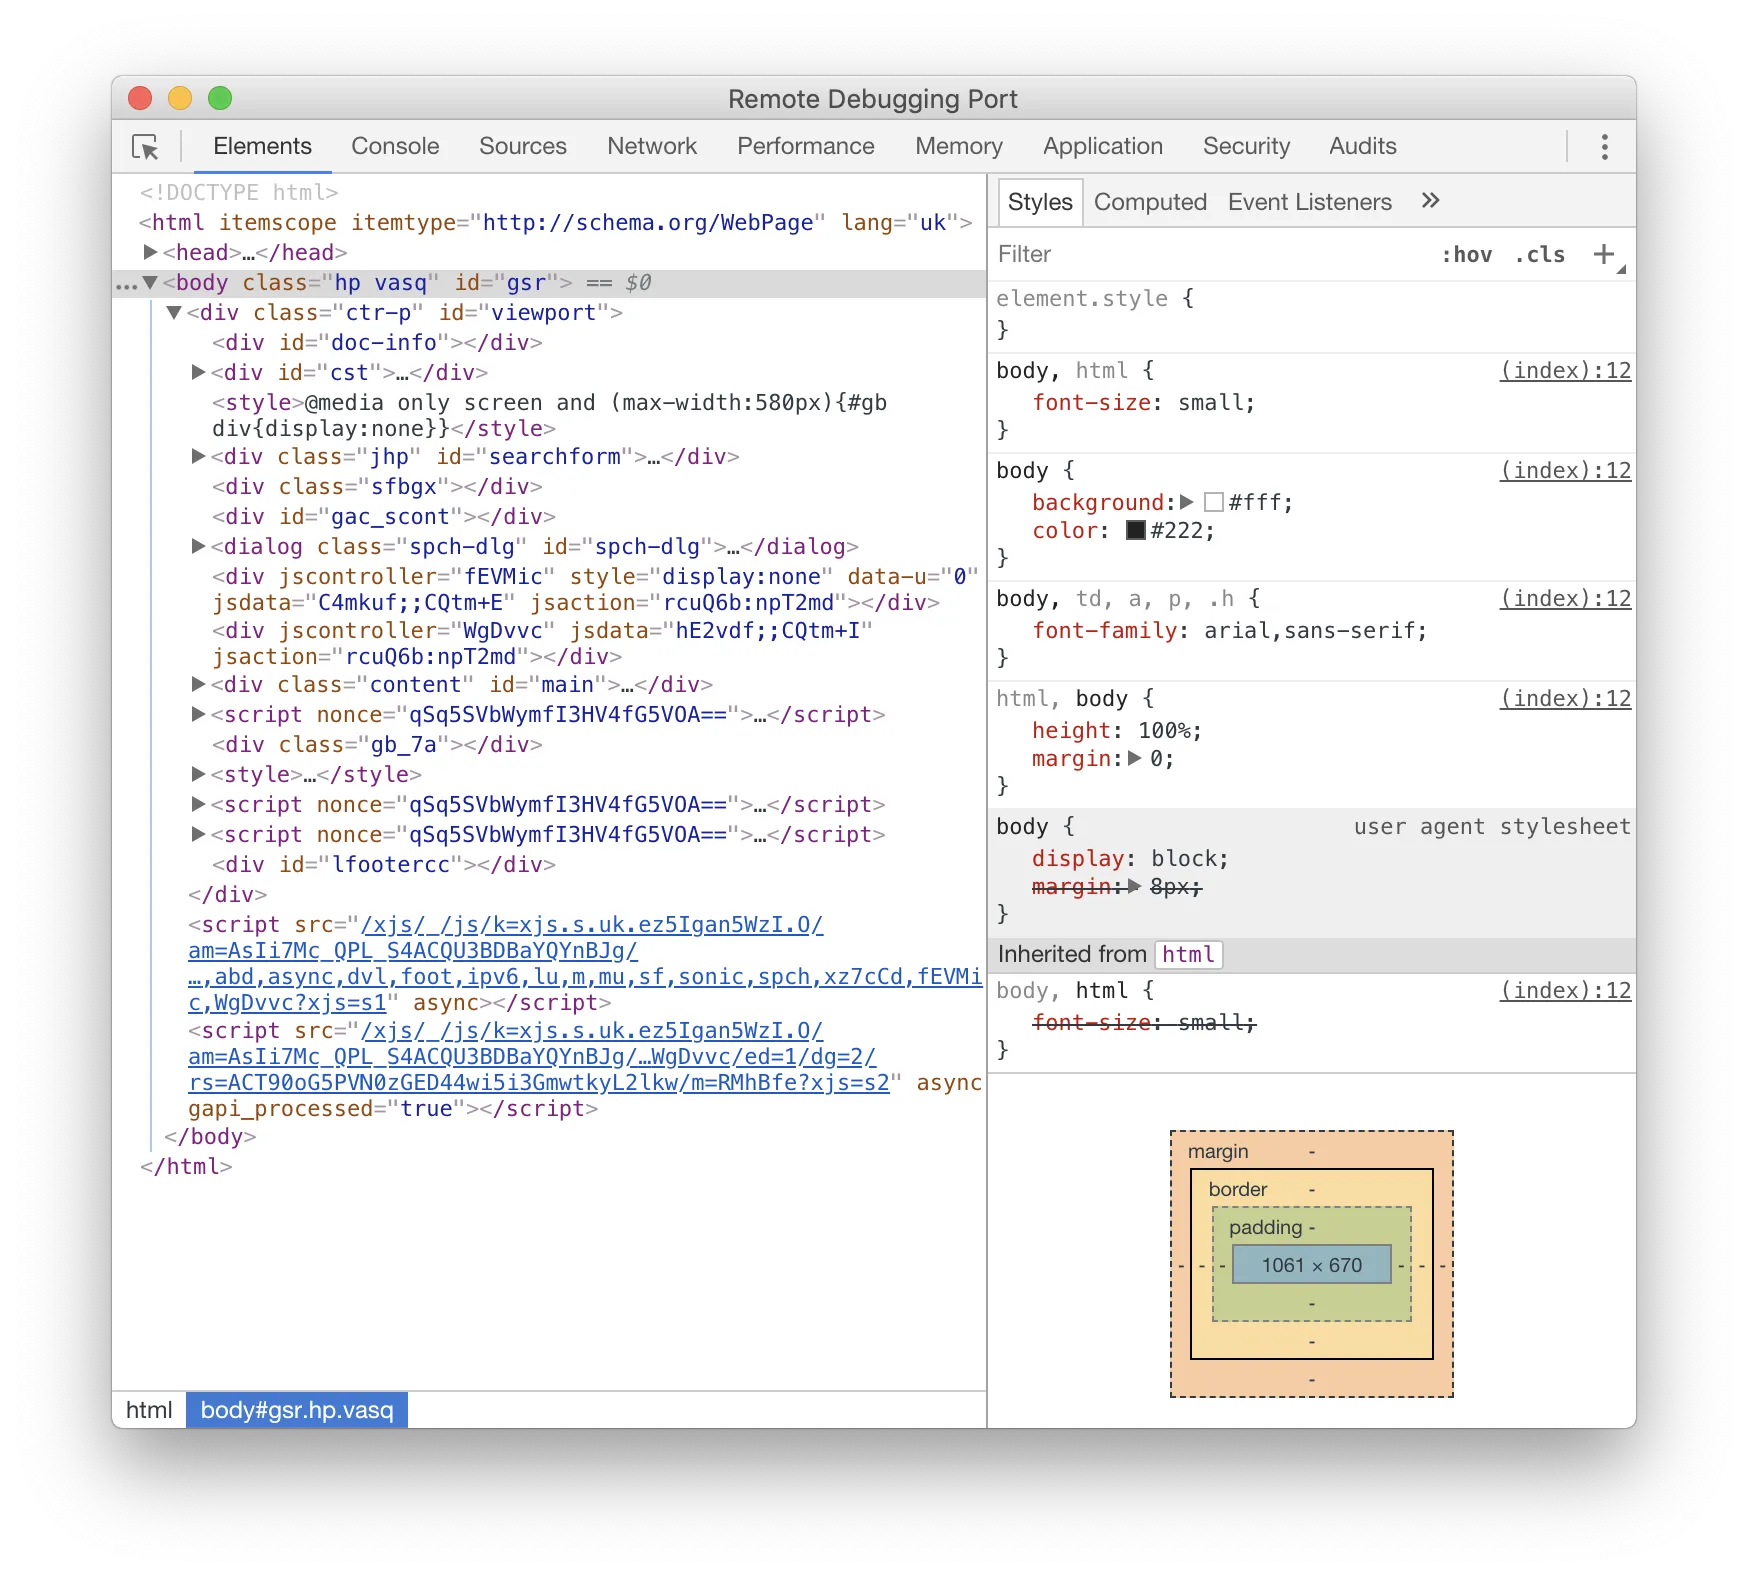
You can always inspect the web page using the built-in DevTools.
Disabling touch menu
Long press on the Windows 10 touch devices may cause the following touch menu to be shown:
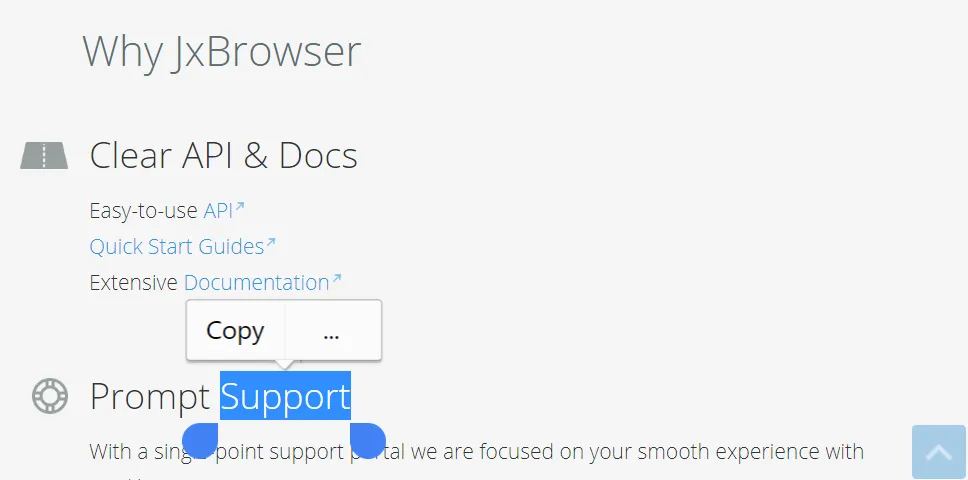
The following code snipped demonstrates how to disable this touch menu:
Engine engine = Engine.newInstance(EngineOptions.newBuilder(RenderingMode.HARDWARE_ACCELERATED)
        .disableTouchMenu()
        .build());
val engine = Engine.newInstance(EngineOptions.newBuilder(RenderingMode.HARDWARE_ACCELERATED)
    .disableTouchMenu()
    .build())
Chromium binaries directory
Use this option to define an absolute or relative path to the directory where the Chromium binaries are located or should be extracted to. For example:
Engine engine = Engine.newInstance(EngineOptions.newBuilder(RenderingMode.HARDWARE_ACCELERATED)
        .chromiumDir(Paths.get("/Users/Me/.jxbrowser/chromium"))
        .build());
val engine = Engine.newInstance(EngineOptions.newBuilder(RenderingMode.HARDWARE_ACCELERATED)
    .chromiumDir(Path("/Users/Me/.jxbrowser/chromium"))
    .build())
See also Chromium Binaries Location.
Chromium switches
Chromium accepts the command line switches that change its behavior, allow to debug, or turn the experimental features on.
To configure Chromium with the required switches use the following API:
Engine engine = Engine.newInstance(EngineOptions.newBuilder(RenderingMode.HARDWARE_ACCELERATED)
        .addSwitch("--<switch-name>")
        .addSwitch("--<switch-name>=<switch-value>")
        .build());
val engine = Engine.newInstance(EngineOptions.newBuilder(RenderingMode.HARDWARE_ACCELERATED)
    .addSwitch("--<switch-name>")
    .addSwitch("--<switch-name>=<switch-value>")
    .build())
Not all the Chromium switches are supported by JxBrowser, so there is no guarantee that the passed switches will work and will not cause any errors. We recommend configuring Chromium through the Engine Options instead of switches.
Google APIs
Some Chromium features such as Geolocation, Spelling, Speech, etc. use Google APIs, and to access those APIs, an API Key, OAuth 2.0 client ID, and client secret are required. To acquire the API Key follow this instruction.
To provide the API Key, client ID, and client secret use the following code:
Engine engine = Engine.newInstance(EngineOptions.newBuilder(RenderingMode.HARDWARE_ACCELERATED)
        .googleApiKey("<api-key>")
        .googleDefaultClientId("<client-id>")
        .googleDefaultClientSecret("<client-secret>")
        .build());
val engine = Engine.newInstance(EngineOptions.newBuilder(RenderingMode.HARDWARE_ACCELERATED)
    .googleApiKey("<api-key>")
    .googleDefaultClientId("<client-id>")
    .googleDefaultClientSecret("<client-secret>")
    .build())
Setting up API keys is optional. If you do not do it, some APIs using Google services will not work.
Proprietary features
Starting from 7.4 the library allows enabling the proprietary features such as proprietary H.264/AAC codecs and Widevine through the following options:
Engine engine = Engine.newInstance(
        EngineOptions.newBuilder(renderingMode)
                .enableProprietaryFeature(proprietaryFeature)
                .build());
val engine = Engine.newInstance(
    EngineOptions.newBuilder(renderingMode)
        .enableProprietaryFeature(proprietaryFeature)
        .build())
Closing Engine
The Engine allocates memory and system resources that must be released. So, when the Engine is no longer needed, it must be closed through the Engine.close() method to shut down the native Chromium process and free all the allocated memory and system resources. For example:
Engine engine = Engine.newInstance(engineOptions);
...
engine.close();
val engine = Engine.newInstance(engineOptions)
...
engine.close()
Any attempt to use an already closed Engine will lead to the IllegalStateException.
To check whether the Engine is closed use the following method:
boolean closed = engine.isClosed();
val closed = engine.isClosed()
Theme
You can configure JxBrowser to use the dark, light, or system theme for displaying web pages and the native dialogs such as Print Preview, Select Source, DevTools, etc.
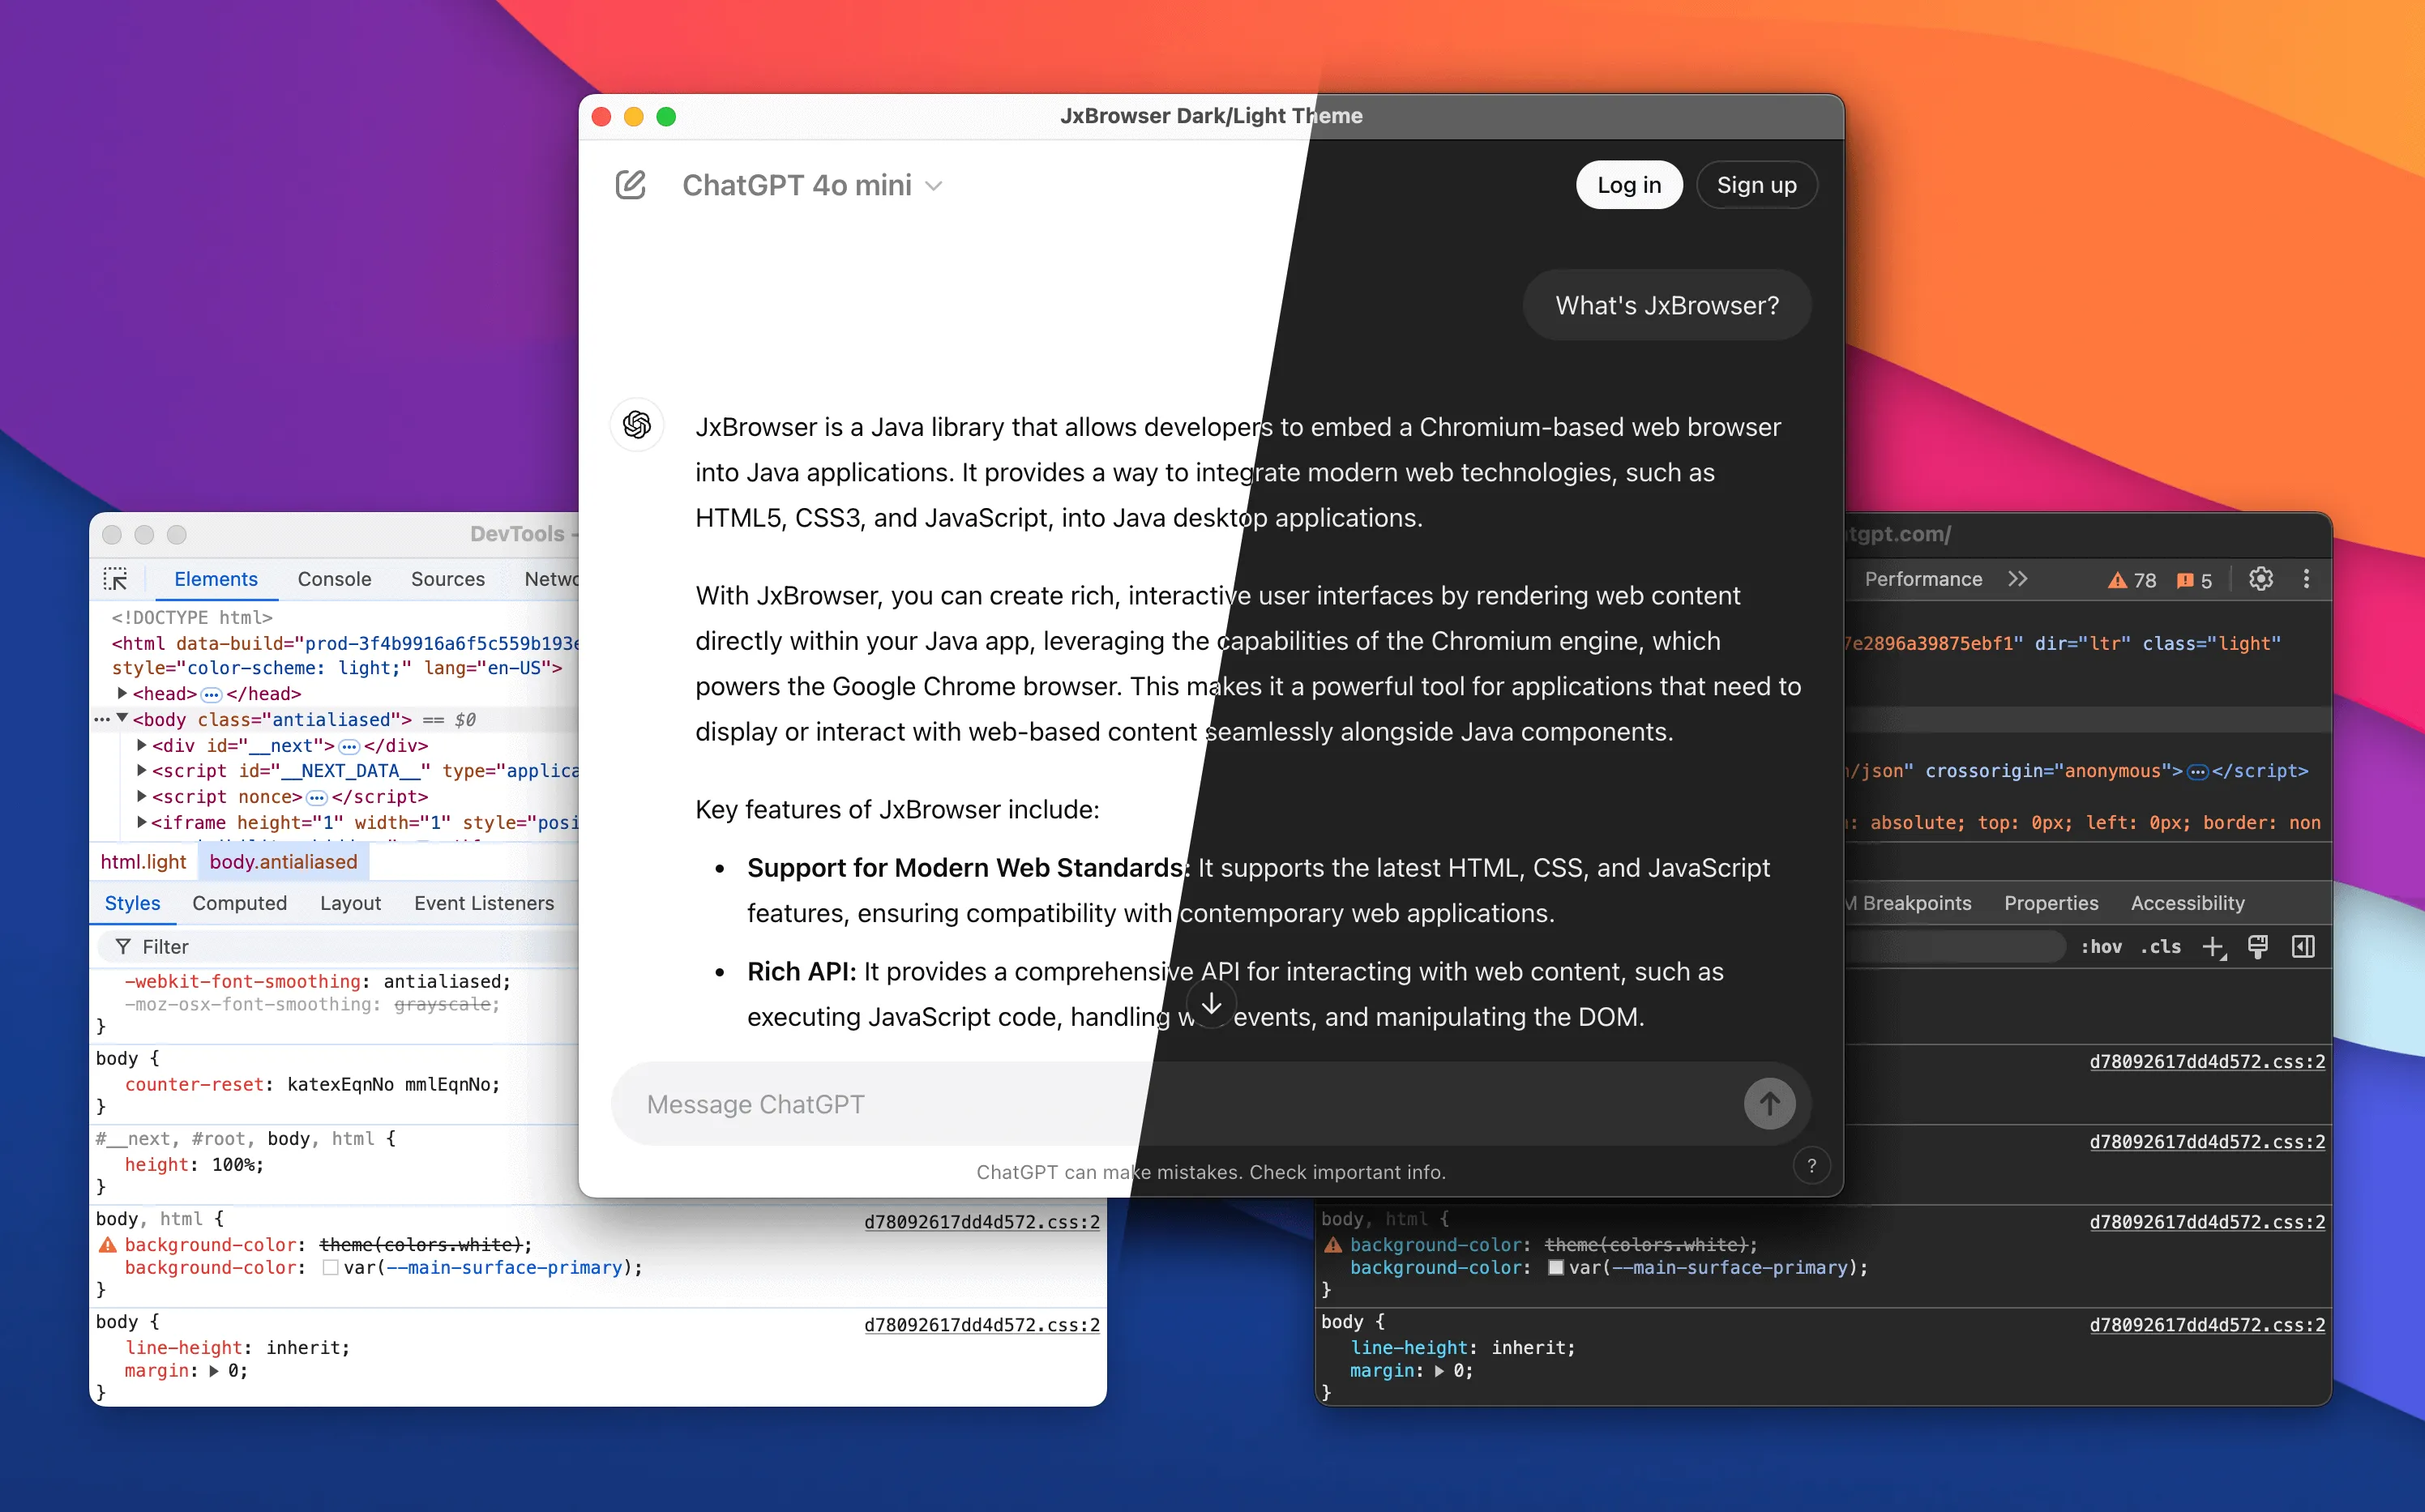
To find out which theme is currently used, use the following approach:
Theme theme = engine.theme();
if (theme == Theme.SYSTEM) {
    // The theme is inherited from the operating system.
}

if (theme == Theme.LIGHT) {
    // The engine and all its browsers use the light theme.
}

if (theme == Theme.DARK) {
    // The engine and all its browsers use the dark theme.
}
val theme = engine.theme()
if (theme == Theme.SYSTEM) {
    // The theme is inherited from the operating system.
}

if (theme == Theme.LIGHT) {
    // The engine and all its browsers use the light theme.
}

if (theme == Theme.DARK) {
    // The engine and all its browsers use the dark theme.
}
By default, JxBrowser uses the theme set in the operating system. When the operating system switches between dark and light themes, JxBrowser will automatically switch to the corresponding one.
To switch between the dark and light themes manually, use the following approach:
engine.setTheme(Theme.DARK); // To set the dark theme.

engine.setTheme(Theme.LIGHT); // To set the light theme.
engine.setTheme(Theme.DARK) // To set the dark theme.

engine.setTheme(Theme.LIGHT) // To set the light theme.
Engine events
Engine closed
To get notifications when the Engine has been closed use the EngineClosed event:
engine.on(EngineClosed.class, event -> {});
engine.on(EngineClosed::class.java) { event -> }
Engine crashed
To get notifications when the Engine has been unexpectedly crashed due to an error inside the Chromium engine use the EngineCrashed event:
engine.on(EngineCrashed.class, event -> {
    int exitCode = event.exitCode();
});
engine.on(EngineCrashed::class.java) { event ->
    val exitCode = event.exitCode()
}