JxBrowser in Eclipse RCP application
This tutorial shows how to add JxBrowser to an existing Eclipse RCP application built with Maven Tycho.
Prerequisites
To go through this tutorial you will need:
- An existing Eclipse RCP application built with Maven Tycho.
- Java 17 or later.
- A valid JxBrowser license key (Evaluation or Commercial). For details, see the licensing guide.
Getting the code
If you want to compare your setup with a working reference project, check out our collection of examples:
$ git clone https://github.com/TeamDev-IP/JxBrowser-Examples
$ cd JxBrowser-Examples/tutorials/eclipse-rcp
Adding the license
To run the application, you need to set up a license key.
Creating a jxbrowser plug-in
JxBrowser is distributed as regular JAR files. In an RCP application, the recommended way is to wrap these JARs into an Eclipse plug-in so you can use it from your application bundles.
In your workspace, create a new plug-in project named jxbrowser.
Add the JxBrowser JAR files (jxbrowser.jar and jxbrowser-swt.jar) to the
project root.
Update build.properties to include the JAR files in the built bundle:
bin.includes = META-INF/,\
               .,\
               jxbrowser.jar,\
               jxbrowser-swt.jar
Update META-INF/MANIFEST.MF:
Add SWT as a dependency:
Require-Bundle: org.eclipse.swtAdd the JAR files to the bundle classpath:
Bundle-ClassPath: jxbrowser.jar,\
 jxbrowser-swt.jar,\
 .
Export the JxBrowser API packages. The easiest way is to open
MANIFEST.MFin the Manifest Editor, switch to the Runtime tab, and add/export the packages from the included JARs so your application bundles can use the JxBrowser API.
Creating platform-specific fragments
JxBrowser also requires platform-specific binaries. In Eclipse RCP, you add
them via fragments attached to the jxbrowser plug-in.
Create fragment projects for the platforms you want to support:
jxbrowser.win32.win32.x86_64jxbrowser.win32.win32.aarch64jxbrowser.linux.gtk.x86_64jxbrowser.linux.gtk.aarch64jxbrowser.macosx.cocoa.x86_64jxbrowser.macosx.cocoa.aarch64
For each fragment:
Select
jxbrowseras the host plug-in.Put the platform-specific JAR into the fragment root directory.
Update the fragment
build.propertiesto include the JAR file:bin.includes = META-INF/,\ .,\ <platform-jar-file>.jarUpdate
META-INF/MANIFEST.MF:Attach the fragment to the host plug-in:
Fragment-Host: jxbrowser;bundle-version="8.18.3"Add the platform JAR file to the fragment classpath:
Bundle-ClassPath: <platform-jar-file>.jar,\
 .
Add a platform filter so Eclipse uses this fragment only on the matching platform:
Eclipse-PlatformFilter: (& (osgi.os=<os>) (osgi.arch=<arch>))
Use the following mapping for the common platforms:
| Fragment name | Maven artifact ID | Platform JAR file | Platform filter |
|---|---|---|---|
jxbrowser.win32.win32.x86_64 | jxbrowser-win64 | jxbrowser-win64.jar | (& (osgi.os=win32) (osgi.arch=x86_64)) |
jxbrowser.win32.win32.aarch64 | jxbrowser-win64-arm | jxbrowser-win64-arm.jar | (& (osgi.os=win32) (osgi.arch=aarch64)) |
jxbrowser.linux.gtk.x86_64 | jxbrowser-linux64 | jxbrowser-linux64.jar | (& (osgi.os=linux) (osgi.arch=x86_64)) |
jxbrowser.linux.gtk.aarch64 | jxbrowser-linux64-arm | jxbrowser-linux64-arm.jar | (& (osgi.os=linux) (osgi.arch=aarch64)) |
jxbrowser.macosx.cocoa.x86_64 | jxbrowser-mac | jxbrowser-mac.jar | (& (osgi.os=macosx) (osgi.arch=x86_64)) |
jxbrowser.macosx.cocoa.aarch64 | jxbrowser-mac-arm | jxbrowser-mac-arm.jar | (& (osgi.os=macosx) (osgi.arch=aarch64)) |
Using dependencies from Maven
If your project uses Maven Tycho, you can download the JxBrowser artifacts via Maven instead of copying the JAR files manually.
Add a pom.xml file to the jxbrowser plug-in and each platform fragment.
Configure the maven-dependency-plugin
In Tycho, both plug-ins and fragments use the eclipse-plugin packaging, so
each new project should have its own pom.xml and be included as a module in
your reactor build.
Example for the jxbrowser plug-in:
<properties>
  <jxbrowser.version>8.18.3</jxbrowser.version>
</properties>

<repositories>
  <repository>
    <id>com.teamdev</id>
    <url>https://europe-maven.pkg.dev/jxbrowser/releases</url>
  </repository>
</repositories>

<build>
  <plugins>
    <plugin>
      <groupId>org.apache.maven.plugins</groupId>
      <artifactId>maven-dependency-plugin</artifactId>
      <executions>
        <execution>
          <id>gather-libs</id>
          <phase>validate</phase>
          <goals>
            <goal>copy</goal>
          </goals>
          <configuration>
            <outputDirectory>.</outputDirectory>
            <stripVersion>true</stripVersion>
            <artifactItems>
              <artifactItem>
                <groupId>com.teamdev.jxbrowser</groupId>
                <artifactId>jxbrowser</artifactId>
                <version>${jxbrowser.version}</version>
              </artifactItem>
              <artifactItem>
                <groupId>com.teamdev.jxbrowser</groupId>
                <artifactId>jxbrowser-swt</artifactId>
                <version>${jxbrowser.version}</version>
              </artifactItem>
            </artifactItems>
          </configuration>
        </execution>
      </executions>
    </plugin>
  </plugins>
</build>
Example for a platform fragment (macOS ARM):
<properties>
  <jxbrowser.version>8.18.3</jxbrowser.version>
</properties>

<repositories>
  <repository>
    <id>com.teamdev</id>
    <url>https://europe-maven.pkg.dev/jxbrowser/releases</url>
  </repository>
</repositories>

<build>
  <plugins>
    <plugin>
      <groupId>org.apache.maven.plugins</groupId>
      <artifactId>maven-dependency-plugin</artifactId>
      <executions>
        <execution>
          <id>gather-libs</id>
          <phase>validate</phase>
          <goals>
            <goal>copy</goal>
          </goals>
          <configuration>
            <outputDirectory>.</outputDirectory>
            <stripVersion>true</stripVersion>
            <artifactItems>
              <artifactItem>
                <groupId>com.teamdev.jxbrowser</groupId>
                <artifactId>jxbrowser-mac-arm</artifactId>
                <version>${jxbrowser.version}</version>
              </artifactItem>
            </artifactItems>
          </configuration>
        </execution>
      </executions>
    </plugin>
  </plugins>
</build>
On the next mvn install or mvn verify, Maven will download the JAR files to
the bundle root directories.
Adding the bundles to your feature/product
If your application is packaged as a feature-based product, include the
jxbrowser plug-in and the platform fragments in your feature.
Example feature.xml entries:
<plugin id="jxbrowser" version="0.0.0"/>

<plugin
      id="jxbrowser.win32.win32.x86_64"
      os="win32"
      ws="win32"
      arch="x86_64"
      version="0.0.0"/>

<plugin
      id="jxbrowser.macosx.cocoa.aarch64"
      os="macosx"
      ws="cocoa"
      arch="aarch64"
      version="0.0.0"/>
If you use a different packaging setup, make sure that jxbrowser and the
matching fragment for your platform are included in the final product.
Adding dependency on JxBrowser plug-in
Open MANIFEST.MF of your plug-in in the text editor, and add jxbrowser to the Require-Bundle instruction:
Require-Bundle: ...,
 jxbrowser
Embedding SWT BrowserView
In an SWT-based view/part, create an Engine, a Browser, and a BrowserView,
then attach the view to an existing Composite.
import static org.eclipse.swt.layout.GridData.FILL;

import com.teamdev.jxbrowser.browser.Browser;
import com.teamdev.jxbrowser.engine.Engine;
import com.teamdev.jxbrowser.engine.EngineOptions;
import com.teamdev.jxbrowser.engine.RenderingMode;
import com.teamdev.jxbrowser.view.swt.BrowserView;

import org.eclipse.swt.SWT;
import org.eclipse.swt.layout.GridData;
import org.eclipse.swt.layout.GridLayout;
import org.eclipse.swt.widgets.Composite;
import org.eclipse.swt.widgets.Text;

public final class SamplePart {

    public static void create(Composite parent) {
        System.setProperty("jxbrowser.license.key", "your_license_key");

        var engine = Engine.newInstance(
                EngineOptions.newBuilder(RenderingMode.HARDWARE_ACCELERATED)
                        .build());
        var browser = engine.newBrowser();

        parent.setLayout(new GridLayout(1, false));

        var addressBar = new Text(parent, SWT.SINGLE);
        addressBar.setText("https://google.com");
        addressBar.addListener(SWT.Traverse, event -> {
            if (event.detail == SWT.TRAVERSE_RETURN) {
                browser.navigation().loadUrl(addressBar.getText());
            }
        });

        addressBar.setLayoutData(new GridData(FILL, SWT.CENTER, true, false));

        var view = BrowserView.newInstance(parent, browser);
        view.setLayoutData(new GridData(FILL, FILL, true, true));

        browser.navigation().loadUrl(addressBar.getText());
    }
}
Replace your_license_key with a valid license key. For details, see
the licensing guide.
Running the application
Build and run your product as you normally do.
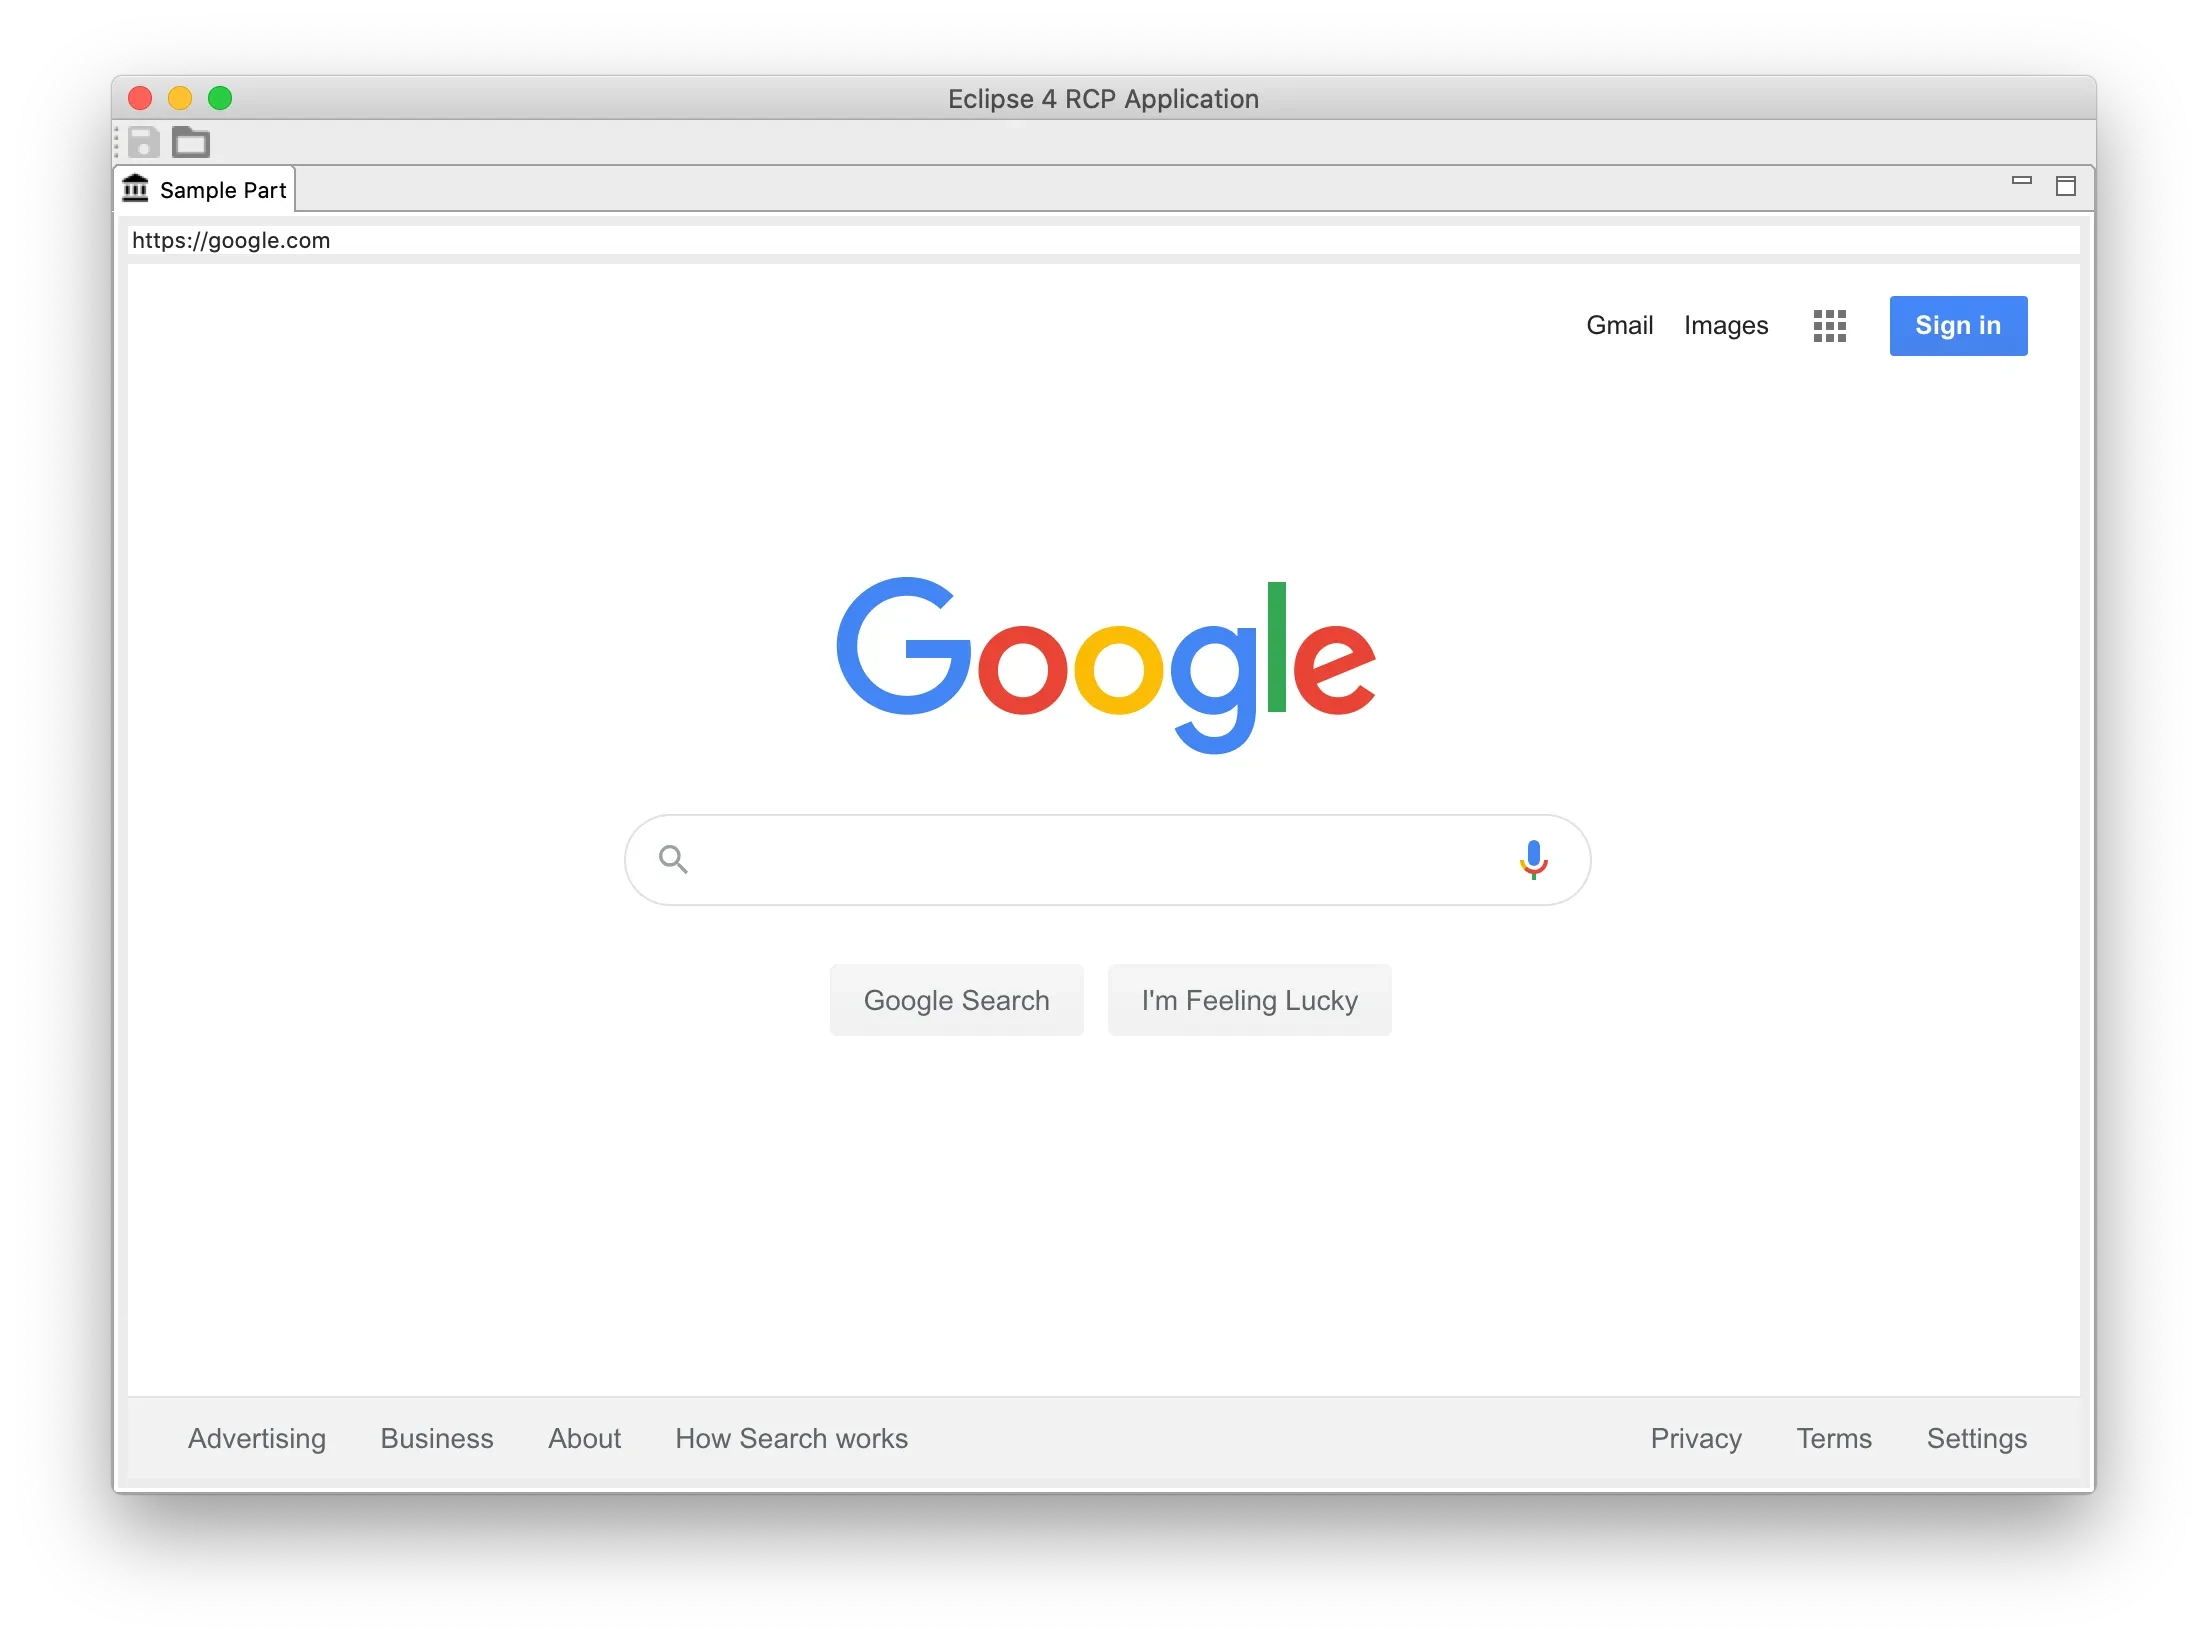
If you want to validate the result quickly, you should see a BrowserView
rendering web content inside your application window:
Summary
In this tutorial we:
- Created a
jxbrowserplug-in that wraps the JxBrowser JAR files. - Created platform-specific fragments for JxBrowser binaries.
- Added the
jxbrowserplug-in as a dependency for application bundles. - Embedded an SWT
BrowserViewinto an existing SWT UI.