Deploying JxBrowser applications with Docker
This tutorial demonstrates how to deploy a JxBrowser application using Docker.
Why Docker
Docker allows you to package a JxBrowser application together with all required system dependencies and run it consistently across environments, including on older Linux distributions that are not officially supported.
In this tutorial, Docker is used to:
- Run JxBrowser in a headless Linux environment using a virtual X server.
- Run JxBrowser as a desktop application by connecting the container to the host X server.
Prerequisites
- Installed and running Docker Engine.
- A valid JxBrowser license. See Licensing.
Getting the code
You can find a complete Dockerfile and a sample application in our examples repository:
$ git clone https://github.com/TeamDev-IP/JxBrowser-Examples
$ cd JxBrowser-Examples/tutorials/docker
JxBrowser application
Creating an application
Use the example project from the repository above, or create your own project with Gradle.
The example uses the following directory structure:
tutorials/docker/
├── Dockerfile      # Builds the Docker image with all required system dependencies
├── startup.sh      # Script to start the application
└── project/        # Gradle project containing the application
    └── build.gradle
Adding the license
Add the license key to the application. See Adding the license to a project.
Creating a Dockerfile
Create a Dockerfile that packages the application together with all required system dependencies.
Basic environment configuration
Use Ubuntu LTS as the base image:
FROM ubuntu:24.04
Chromium requires glibc to work. Therefore, we can’t use Alpine or any other Linux distribution that uses musl or
another standard C library.
Configure a non-interactive environment for package installation:
ENV DEBIAN_FRONTEND=noninteractive
Update the package list:
RUN apt update
Installing Java and Chromium dependencies
Install OpenJDK 17. You can use any other supported JDK if required:
RUN apt install -y openjdk-17-jdk
Install the native system libraries required by Chromium:
RUN apt install -y \
    ca-certificates \
    fonts-liberation \
    libasound2t64 \
    libatk-bridge2.0-0 \
    libatk1.0-0 \
    libatspi2.0-0 \
    libc6 \
    libcairo2 \
    libcups2 \
    libdbus-1-3 \
    libdrm2 \
    libexpat1 \
    libgbm1 \
    libglib2.0-0 \
    libgtk-3-0 \
    libnspr4 \
    libnss3 \
    libpango-1.0-0 \
    libu2f-udev \
    libvulkan1 \
    libx11-6 \
    libxcb1 \
    libxcomposite1 \
    libxdamage1 \
    libxext6 \
    libxfixes3 \
    libxkbcommon0 \
    libxrandr2
If you choose a different base image, install the dependencies required for that distribution as listed in System requirements.
Installing an X11 server
Chromium requires an X11 server to run. Install Xvfb, a lightweight virtual X server that can be used when no graphical display is available:
RUN apt install -y xvfb
Copying and building the project
With the base image and dependencies in place, define how the application should be started and then copy the project into the image.
- Create a
startup.shscript for running the application:
#!/bin/sh

if [ -z "${DISPLAY:-}" ]; then
  Xvfb :0 -screen 0 1920x1080x24+32 &
  export DISPLAY=:0
fi

cd project
./gradlew run
The script checks whether an X server is available via the DISPLAY environment variable:
- If
DISPLAYis not set, it starts a virtual X server (Xvfb) and runs in headless mode. - If
DISPLAYis set, it starts the application using the X server specified byDISPLAYand runs in desktop mode.
For simplicity, this example runs the application using Gradle. In production, you would typically build a JAR file and run it directly.
- Copy the startup script into the image and make it executable:
COPY startup.sh .
RUN chmod +x startup.sh
- Copy the Gradle project and build it inside the image:
COPY project/ project
RUN cd project && ./gradlew build
- Configure the container entry point:
WORKDIR /
ENTRYPOINT ["sh", "-c", "/startup.sh"]
Building and launching a Docker container
Build the Docker image and name it jxbrowser:
docker build -t jxbrowser .
Once the Docker image is ready, you can run the application in different ways depending on your use case.
This tutorial demonstrates two modes:
- Headless mode — suitable for automation, testing, and server-side execution, where no UI is required.
- Desktop mode — suitable for distributing and running the application as a desktop application with a visible UI.
Headless mode
In headless mode, the application runs using a virtual X server (Xvfb).
Run the container:
docker run --shm-size=1gb -t jxbrowser
The --shm-size=1gb extends shared memory to 1 GB. By default, Docker limits it to 64 MB, which is not enough for
Chromium.
In the sample application, we load Google and print the page title. You should see this in the console output:
Title: Google
Desktop mode
In desktop mode, the application connects to the X server of the host system, which allows it to behave like a native desktop application. This setup is specific to Linux systems using X11.
In this mode, the application can display browser content in a native window. To do this, add a simple Swing UI to the application:
SwingUtilities.invokeLater(() -> {
    var view = BrowserView.newInstance(browser);
    var frame = new JFrame("Demo App");
    frame.addWindowListener(new WindowAdapter() {
        @Override
        public void windowClosing(WindowEvent e) {
            engine.close();
        }
    });
    frame.setDefaultCloseOperation(WindowConstants.DISPOSE_ON_CLOSE);
    frame.add(view, BorderLayout.CENTER);
    frame.setSize(800, 500);
    frame.setLocationRelativeTo(null);
    frame.setVisible(true);

    browser.navigation().loadUrl("https://google.com");
});
Don’t forget to rebuild the Docker image after modifying the application.
Before running the container, run this command to allow local connections to the X server:
xhost +local:root
Run the container with access to the host X server:
docker run --shm-size=1gb -t \
  -e DISPLAY=$DISPLAY \
  -v /tmp/.X11-unix:/tmp/.X11-unix \
  jxbrowser
This command passes the host DISPLAY value and mounts the X11 socket into the container.
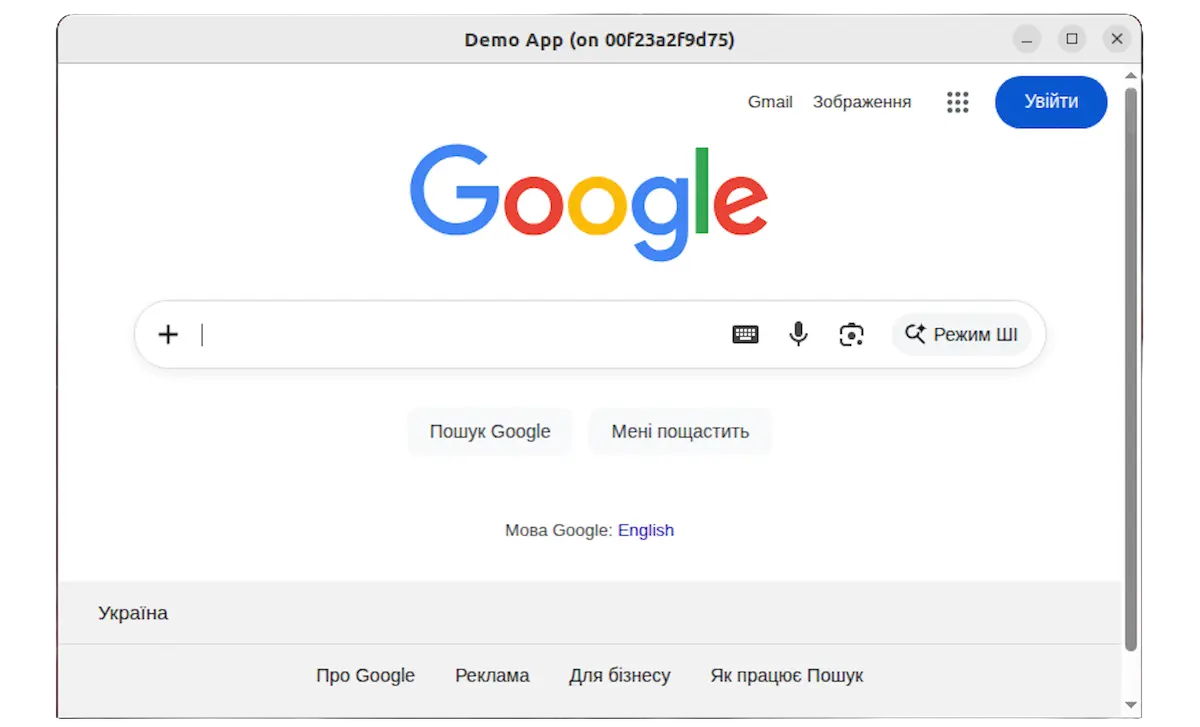
You should see the application window appear on the host desktop:
After you finish debugging, restore X server access control:
xhost -local:root
Troubleshooting
Accessing DevTools via the remote debugging port
For development and debugging, you can inspect the browser using Chrome DevTools. To do this, enable the remote debugging port in the application:
var engine = Engine.newInstance(
        EngineOptions.newBuilder(HARDWARE_ACCELERATED)
                .addSwitch("--remote-allow-origins=http://localhost:9222")
                .remoteDebuggingPort(9222)
                .build()
);
In Docker, Chromium typically accepts DevTools connections only from localhost inside the container. To access
DevTools from the host machine, you can use SSH local port forwarding.
On the host, start the container and publish the SSH port:
docker run -p 2222:22 --shm-size=1gb -t jxbrowser
Open a shell inside the running container:
docker exec -it <container_id> /bin/bash
Replace <container_id> with the ID of the running container. You can find it by running docker ps.
Install and start the SSH server inside the container:
apt install -y openssh-server
service ssh start
Inside the container, create a user for SSH access:
useradd --create-home --shell /bin/bash jxbrowser
passwd jxbrowser
On the host, forward the remote debugging port:
ssh -L 9222:localhost:9222 -p 2222 jxbrowser@localhost
This command creates a tunnel from localhost:9222 on the host to localhost:9222 inside the container. Keep this SSH
session open while using DevTools.
On the host, open Google Chrome and load chrome://inspect to access the DevTools.
Kubernetes
Kubernetes does not support a direct --shm-size option like Docker, so you need to create a memory-backed volume for
/dev/shm manually:
spec:
  volumes:
  - name: chromium_shm
    emptyDir:
      sizeLimit: "1Gi"
      medium: Memory
  containers:
  - image: jxbrowser
    volumeMounts:
      - mountPath: /dev/shm
        name: chromium_shm
Summary
In this tutorial, you learned how to:
- Build and run a JxBrowser application in Docker.
- Run in a virtual X server, and use the X server of the host machine.
- Enable the remote debugging port and access DevTools via SSH port forwarding.