Azure Artifact Signing
How to set up Azure Artifact Signing to enable secure cloud-based code signing for Windows applications in your GitHub CI/CD.
Overview
Azure Artifact Signing is Microsoft’s cloud-based code signing service that allows you to securely sign your Windows applications and installers without managing certificates on your local machine. This is the recommended approach for signing applications in GitHub Actions workflows and other CI/CD environments.
To get started, you’ll need:
- An Azure subscription
- The Owner role for Artifact Signing in your Azure subscription to create and manage Artifact Signing accounts
Create an Azure artifact signing account
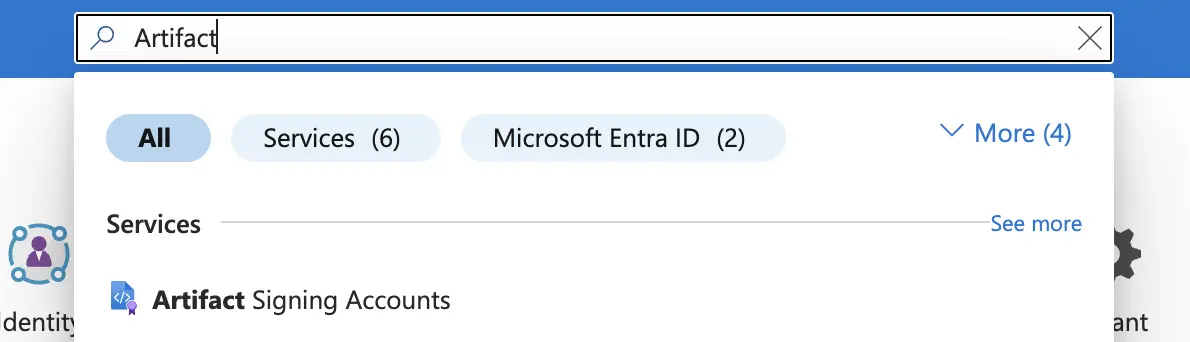
- In the Azure Portal, search for Artifact Signing Accounts.
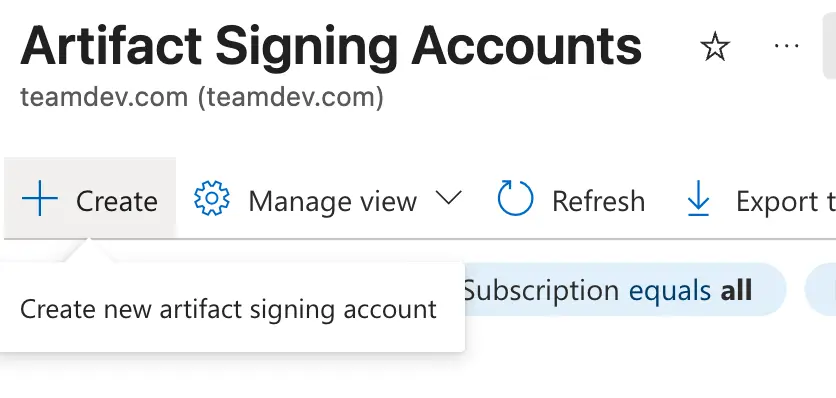
- Click Create.
Fill in the required information:
- Subscription: Select your Azure subscription.
- Resource Group: Create a new resource group or select an existing one.
- Account Name: Enter a unique name for your account (e.g.,
my-app-signing). - Region: Select the region closest to you (e.g.,
East US). - Pricing tier: Select a pricing tier based on your signing volume. The Basic tier is suitable for most development and small-scale releases. Higher tiers offer increased signing capacity and additional features.
Click Review + create, then Create. The account creation may take a few minutes. Once complete, navigate to the resource.
On the Artifact Signing account overview page, note the following values. You’ll need them when signing artifacts.
- Account Name — The name of the Artifact Signing account (e.g.,
my-app-signing) - Account URI — The signing endpoint
- Subscription ID — Your Azure subscription ID (visible in the resource overview)
- Account Name — The name of the Artifact Signing account (e.g.,

Create an identity validation request
Identity Validation ensures that your signing certificates are associated with your organization, which adds credibility when users install your application.
To create an identity validation request, you must be assigned the Artifact Signing Identity Verifier role in your Azure subscription.
Identity validation can be performed in two ways:
- Organization: Validate your company or organization identity
- Individual: Validate your personal identity as a developer
To create a new identity validation:
- In the Artifact Signing account you created, go to Objects → Identity validations in the left sidebar.
- Click + New identity and follow the identity validation flow.
Azure will verify your identity information. This process may take several hours.
For detailed guidance on the identity validation process, refer to the official Azure Artifact Signing identity validation guide.
Create a certificate profile
A certificate profile defines the signing certificate that will be used for your applications.
- In your Artifact Signing account, go to Objects → Certificate profiles in the left sidebar.
- Click + Create and select Public Trust (recommended for most applications).
- Enter the following information:
- Certificate profile name: A descriptive name (e.g.,
app-production). - Verified CN and O: Select your verified identity from the previous section.
- Certificate profile name: A descriptive name (e.g.,
- Click Create.
Once the profile is created, note the Profile Name — you’ll need this for signing.
Create app registration
To authenticate your builds with Azure, create API credentials for an App Registration to use outside of Azure, for example, in your GitHub Actions workflow.
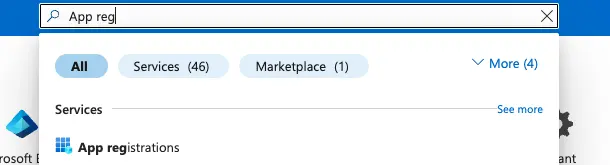
- Search for App registrations.
- Click + New registration
- Fill in the details:
- Name: A descriptive name (e.g.,
artifact-signing-ci). - Supported account types: Select Single tenant only.
- Name: A descriptive name (e.g.,
- Click Register.
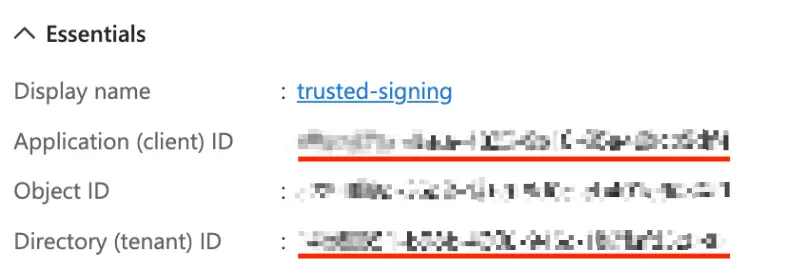
- On the Overview page of the registered application, copy Client ID and Tenant ID. Store the values securely — you’ll need them later for signing.
Set up federated credentials for GitHub Actions
To securely authenticate from GitHub Actions without using long-lived client secrets, create federated credentials:
- In your App Registration, go to Manage → Certificates & secrets.
- Click the Federated credentials tab.
- Click + Add credential.
- Configure the federated credential:
- Federated credential scenario: Select GitHub actions deploying Azure resources.
- Organization: Enter your GitHub organization or username.
- Repository: Enter the name of your repository.
- Entity type: Select Environment.
- Environment name: Enter
production(see Creating an environment for setup instructions).
- Click Add.
This allows GitHub Actions to authenticate to Azure using OpenID Connect without storing your client secret in GitHub Secrets.
Assign roles to the application
The application created in the previous section needs permissions to use your Artifact Signing account.
- Navigate back to your Artifact Signing account.
- Go to Access Control (IAM) in the left sidebar.
- Click + Add and select Add role assignment.
- On the Role tab, search for and select Artifact Signing Certificate Profile Signer. This role is required to successfully sign using Artifact Signing.
- Click Next.
- On the Members tab:
- Assign access to: Select User, group, or service principal.
- Members: Search for the application by its display name, e.g.
trusted-signingin our case
- Click Select, then Next.
- Review and click Assign.
- Repeat steps 3-8 to assign the Artifact Signing Identity Verifier role to the same application. This role is required to manage identity validation requests.
Gather your credentials
You’ve already copied all of the credentials you need during the previous steps. Here’s a summary of all credentials required for signing artifacts:
| Credential | Source |
|---|---|
| From Create App Registration |
| From Create an Azure Artifact Signing Account |
| From Create a Certificate Profile |
Keep these credentials secure and never commit them to version control. You will use them to configure GitHub Secrets for your GitHub workflow.